Steps
1
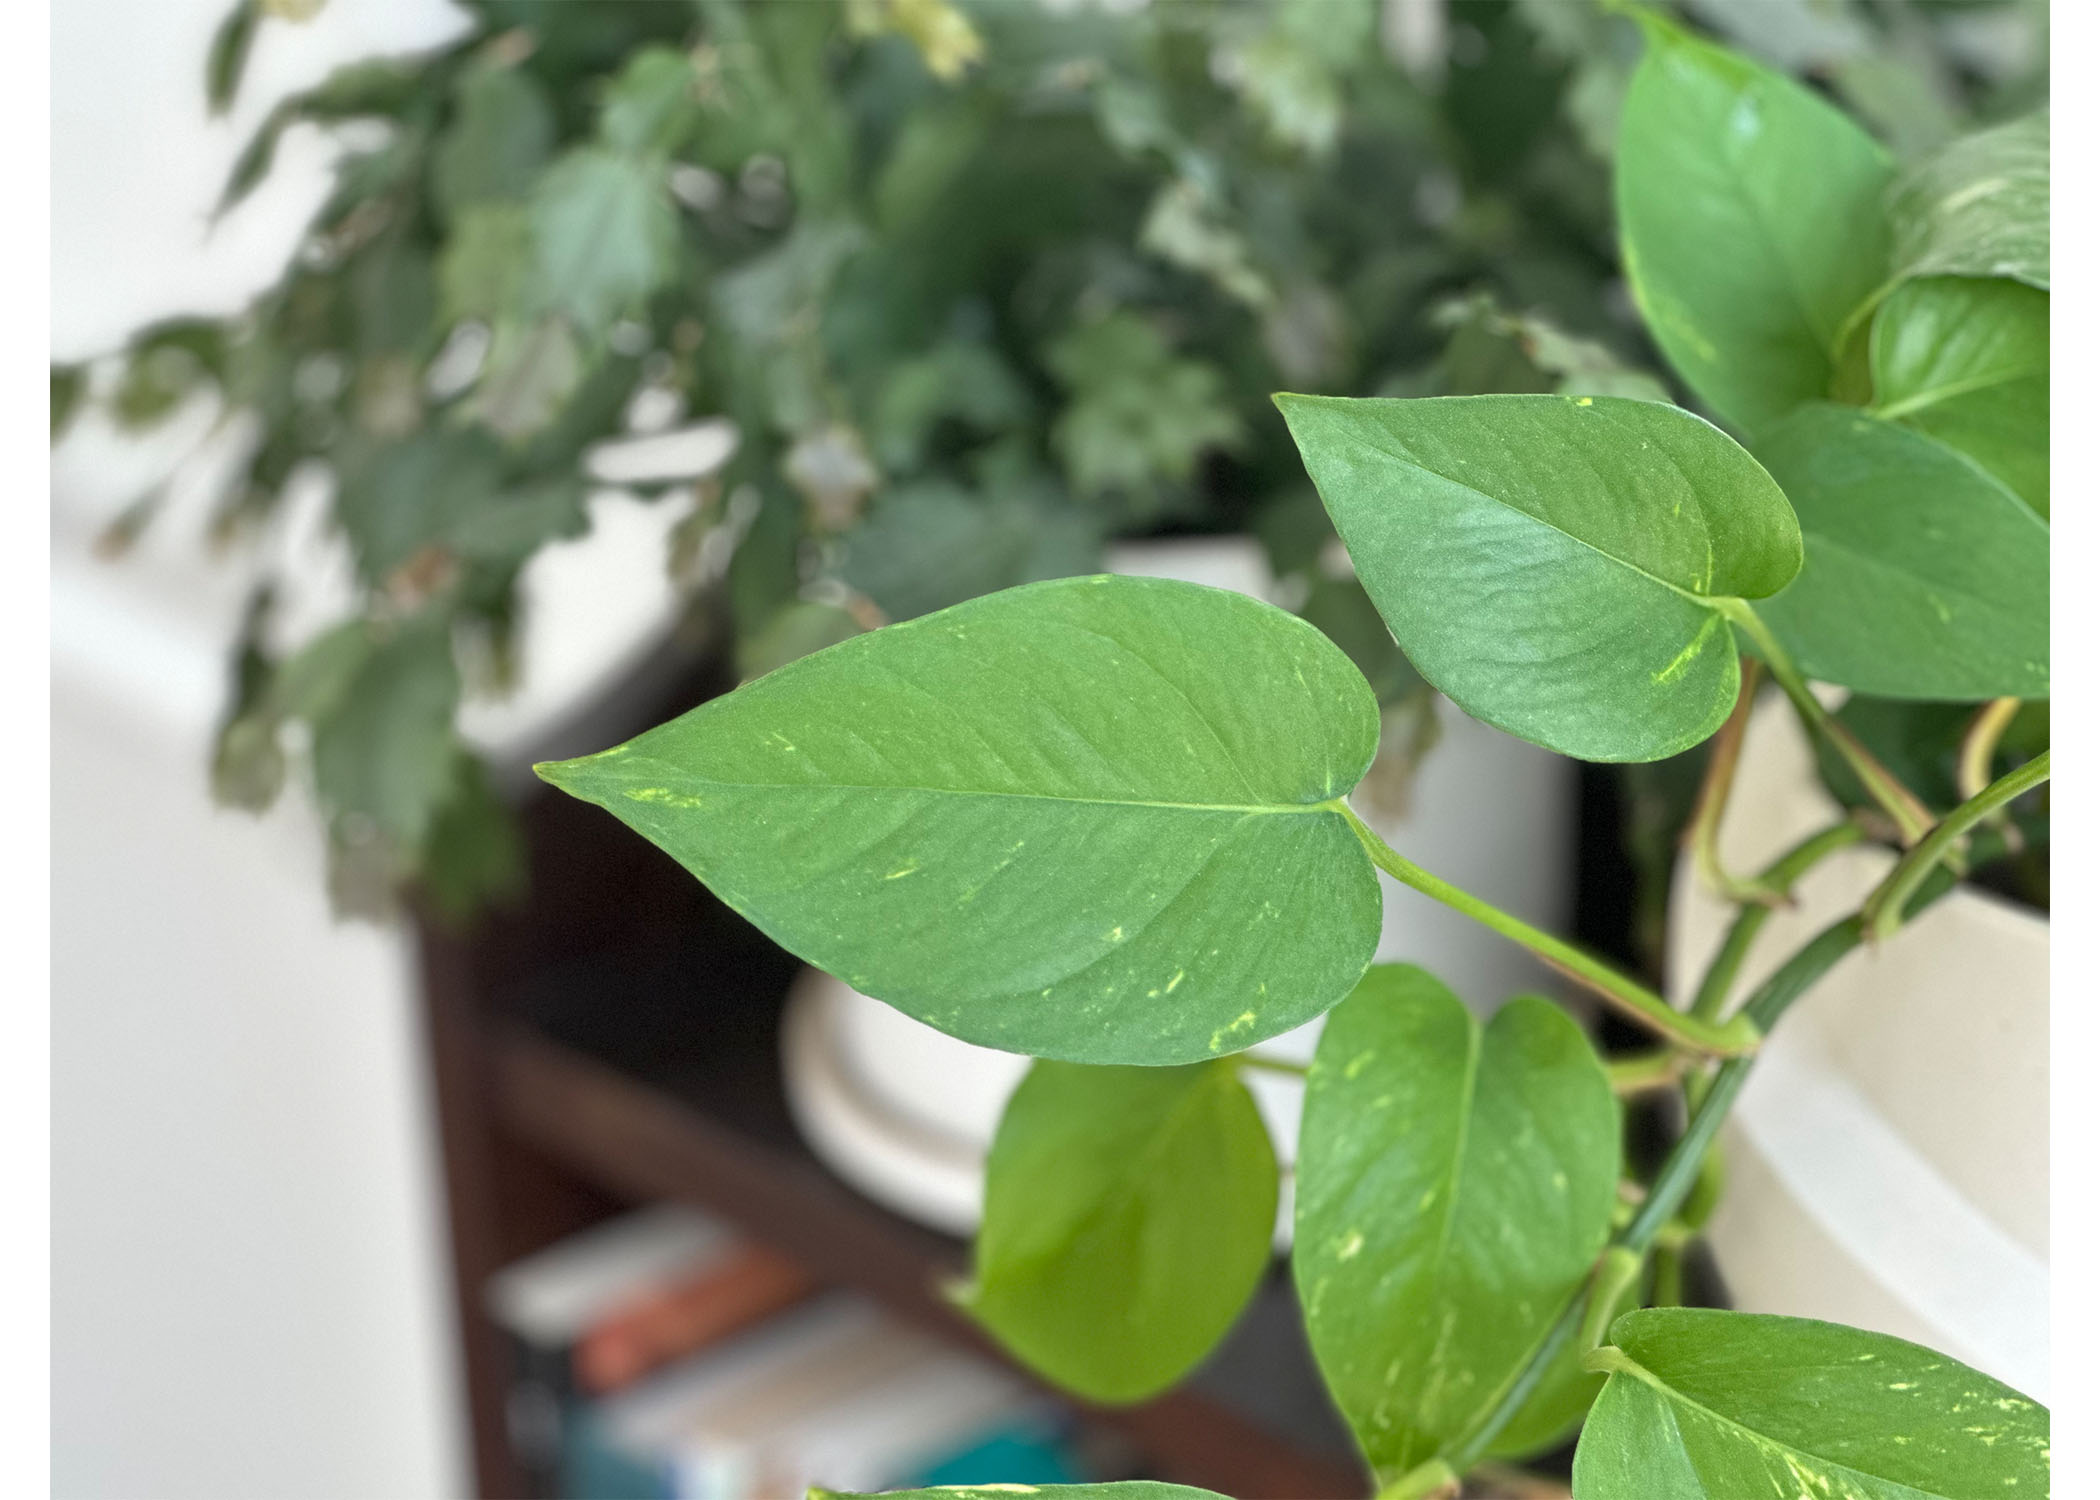
I started with a photo of one of my plants that I wanted to recreate with cardboard.
2
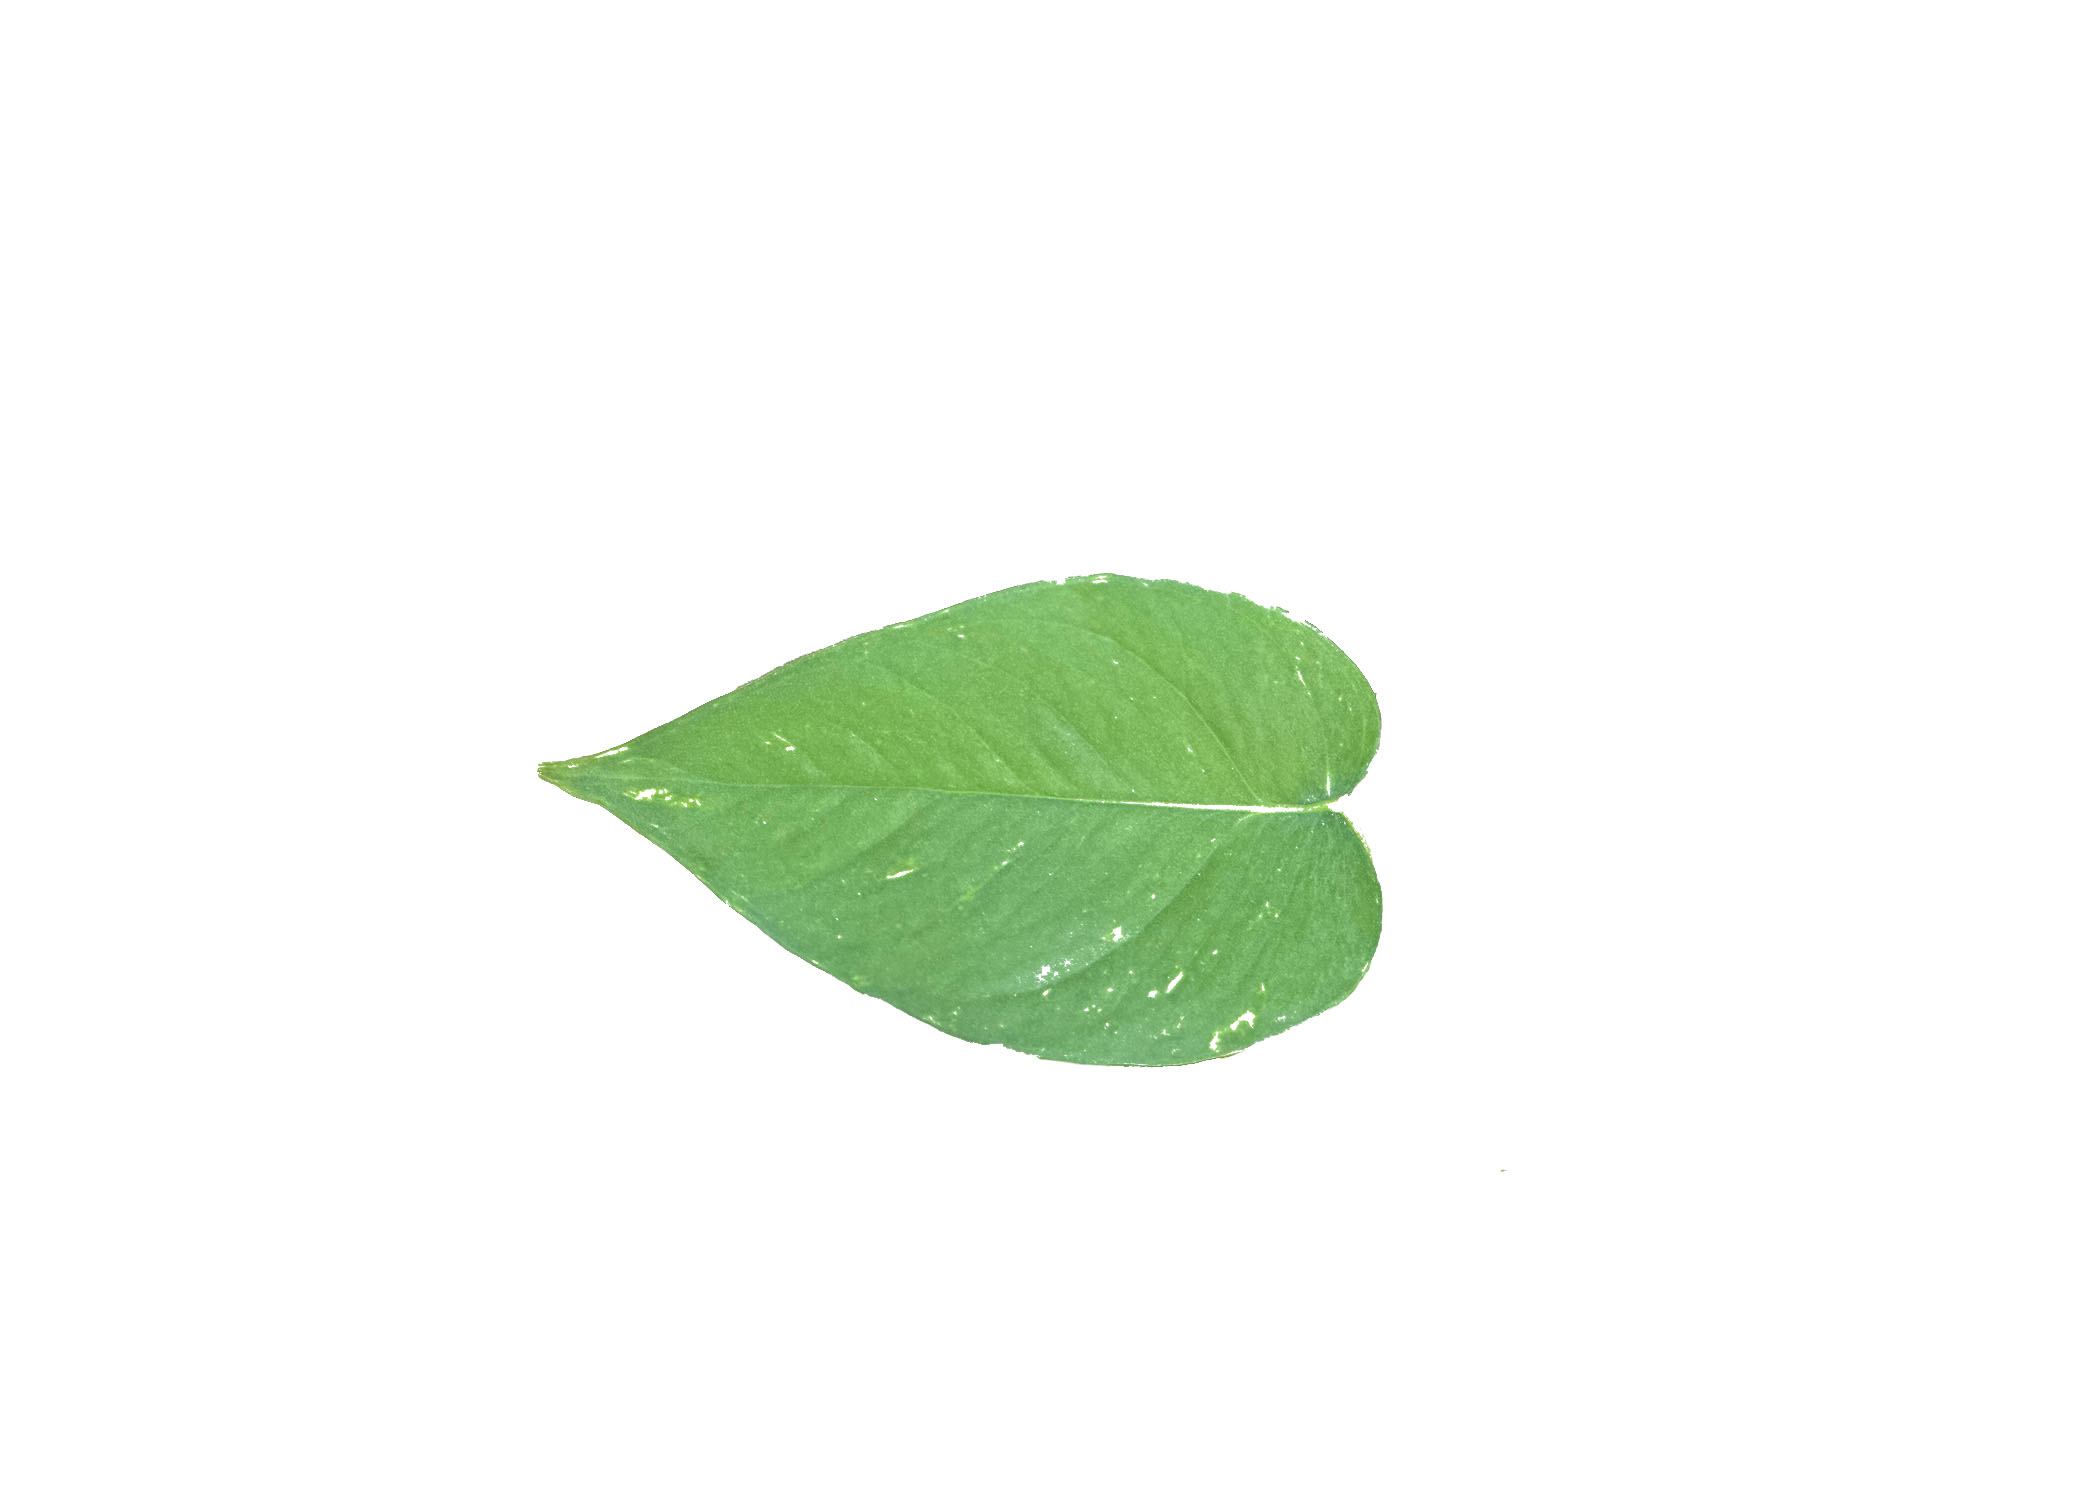
Then I cut out the single leaf in Photoshop and used a threshold to get rid of irregularities due to
the color.
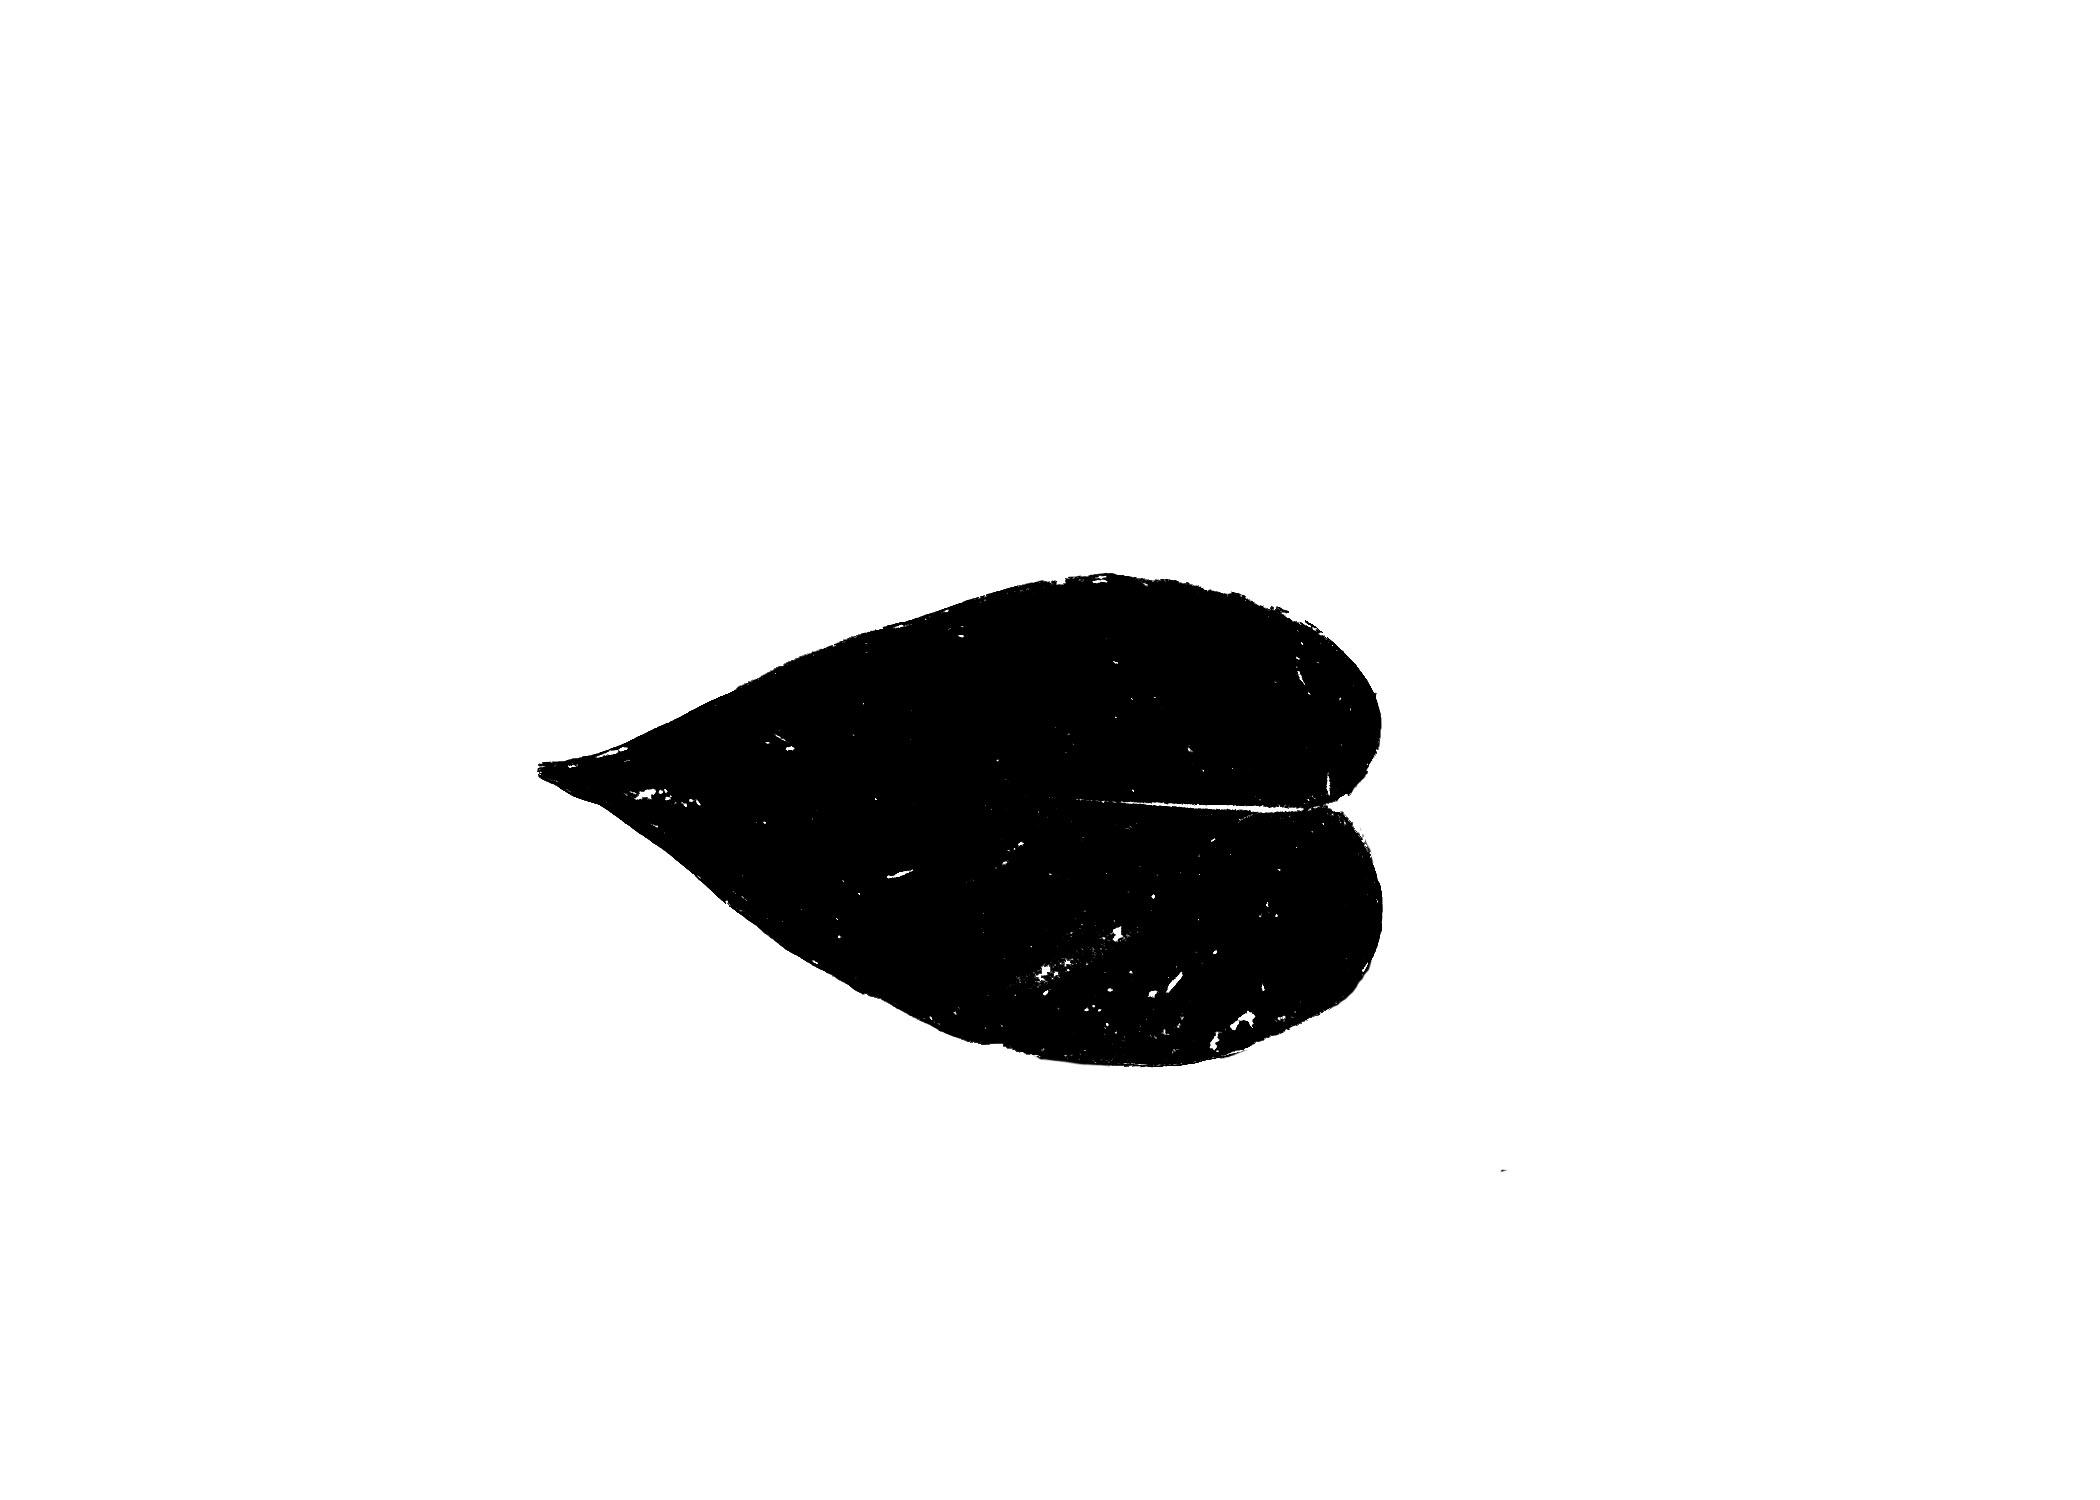
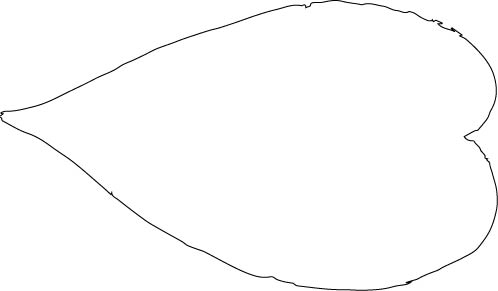
After that I converted the object to a vector in Illustrator and had a happy leaf to use in Rhino.
After that I converted the object to a vector in Illustrator and had a happy leaf to use in Rhino.
3
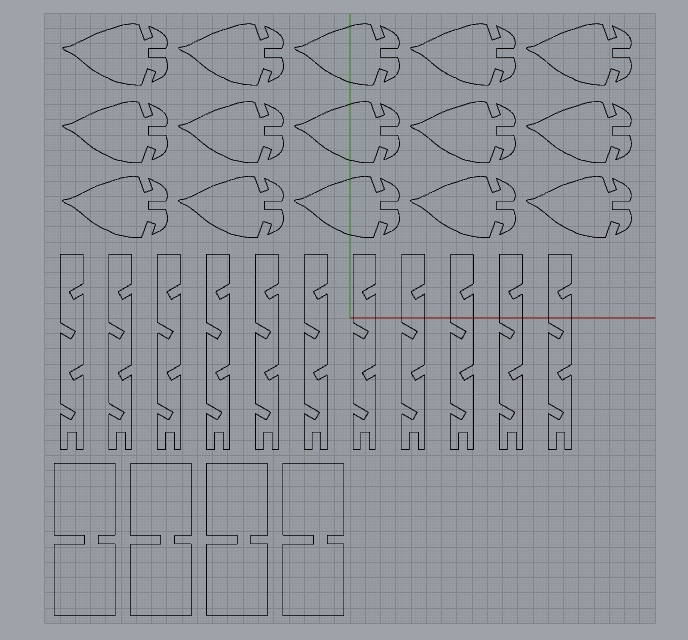
I pulled the leaf from Illustrator into Rhino and cleaned up the vectors by deleting some busy
points and using the rebuild function to remove a lot of the unnecessary points and to smooth curves out.
Then, I measured my cardboard to be 5.77mm thick, so I added some 5.77mm wide rectangles, positioned them on the leaves, and started using splits and joins to make them into notches.
Finally, I added some basic base structure and "vine" pieces as well so that a full little plant could be created. I used array linear to duplicate the outlines, and here we are! Ready to try out once the machines are back online. [Update 10/15 - machines worked!]
4
After that, I took the Rhino file back into Illustrator and set the stroke size to 0.001in and prepared the document to print on the laser cutter!
To do that, I set the size of the file to 32in x 20in, power to 50%, and a range of speeds from 15-25% (multiple cuts due to the thick cardboard).

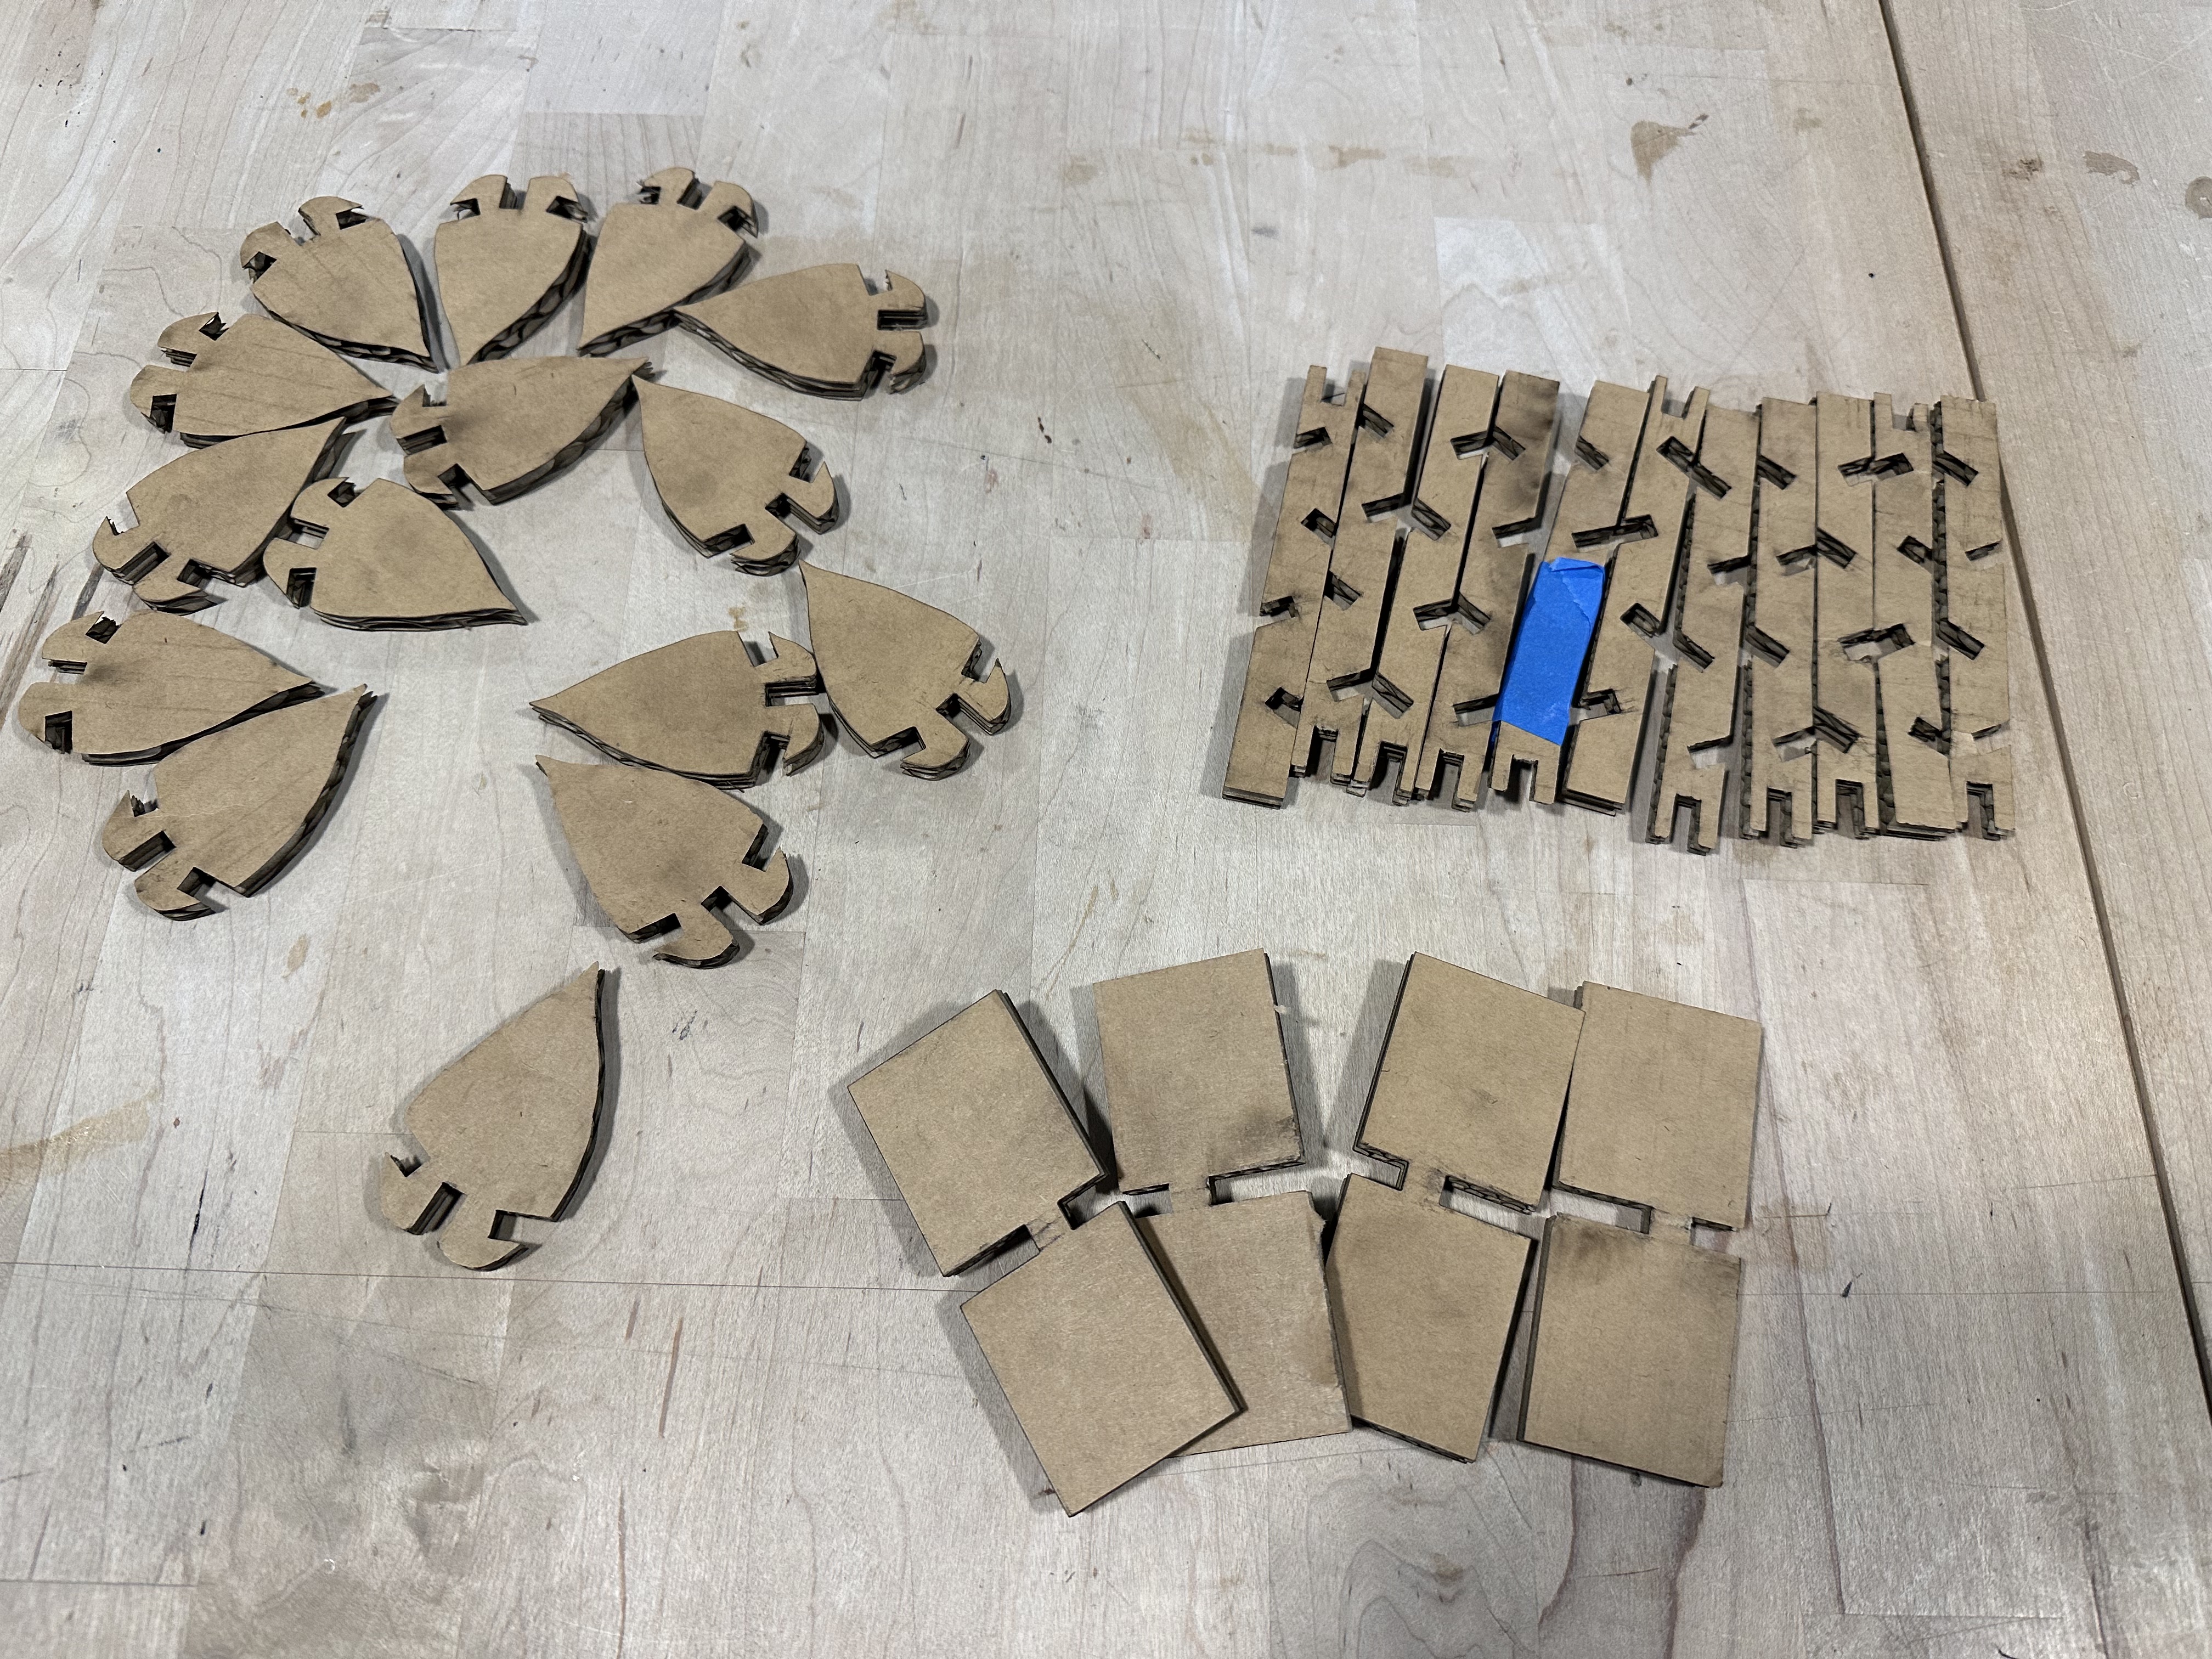
5
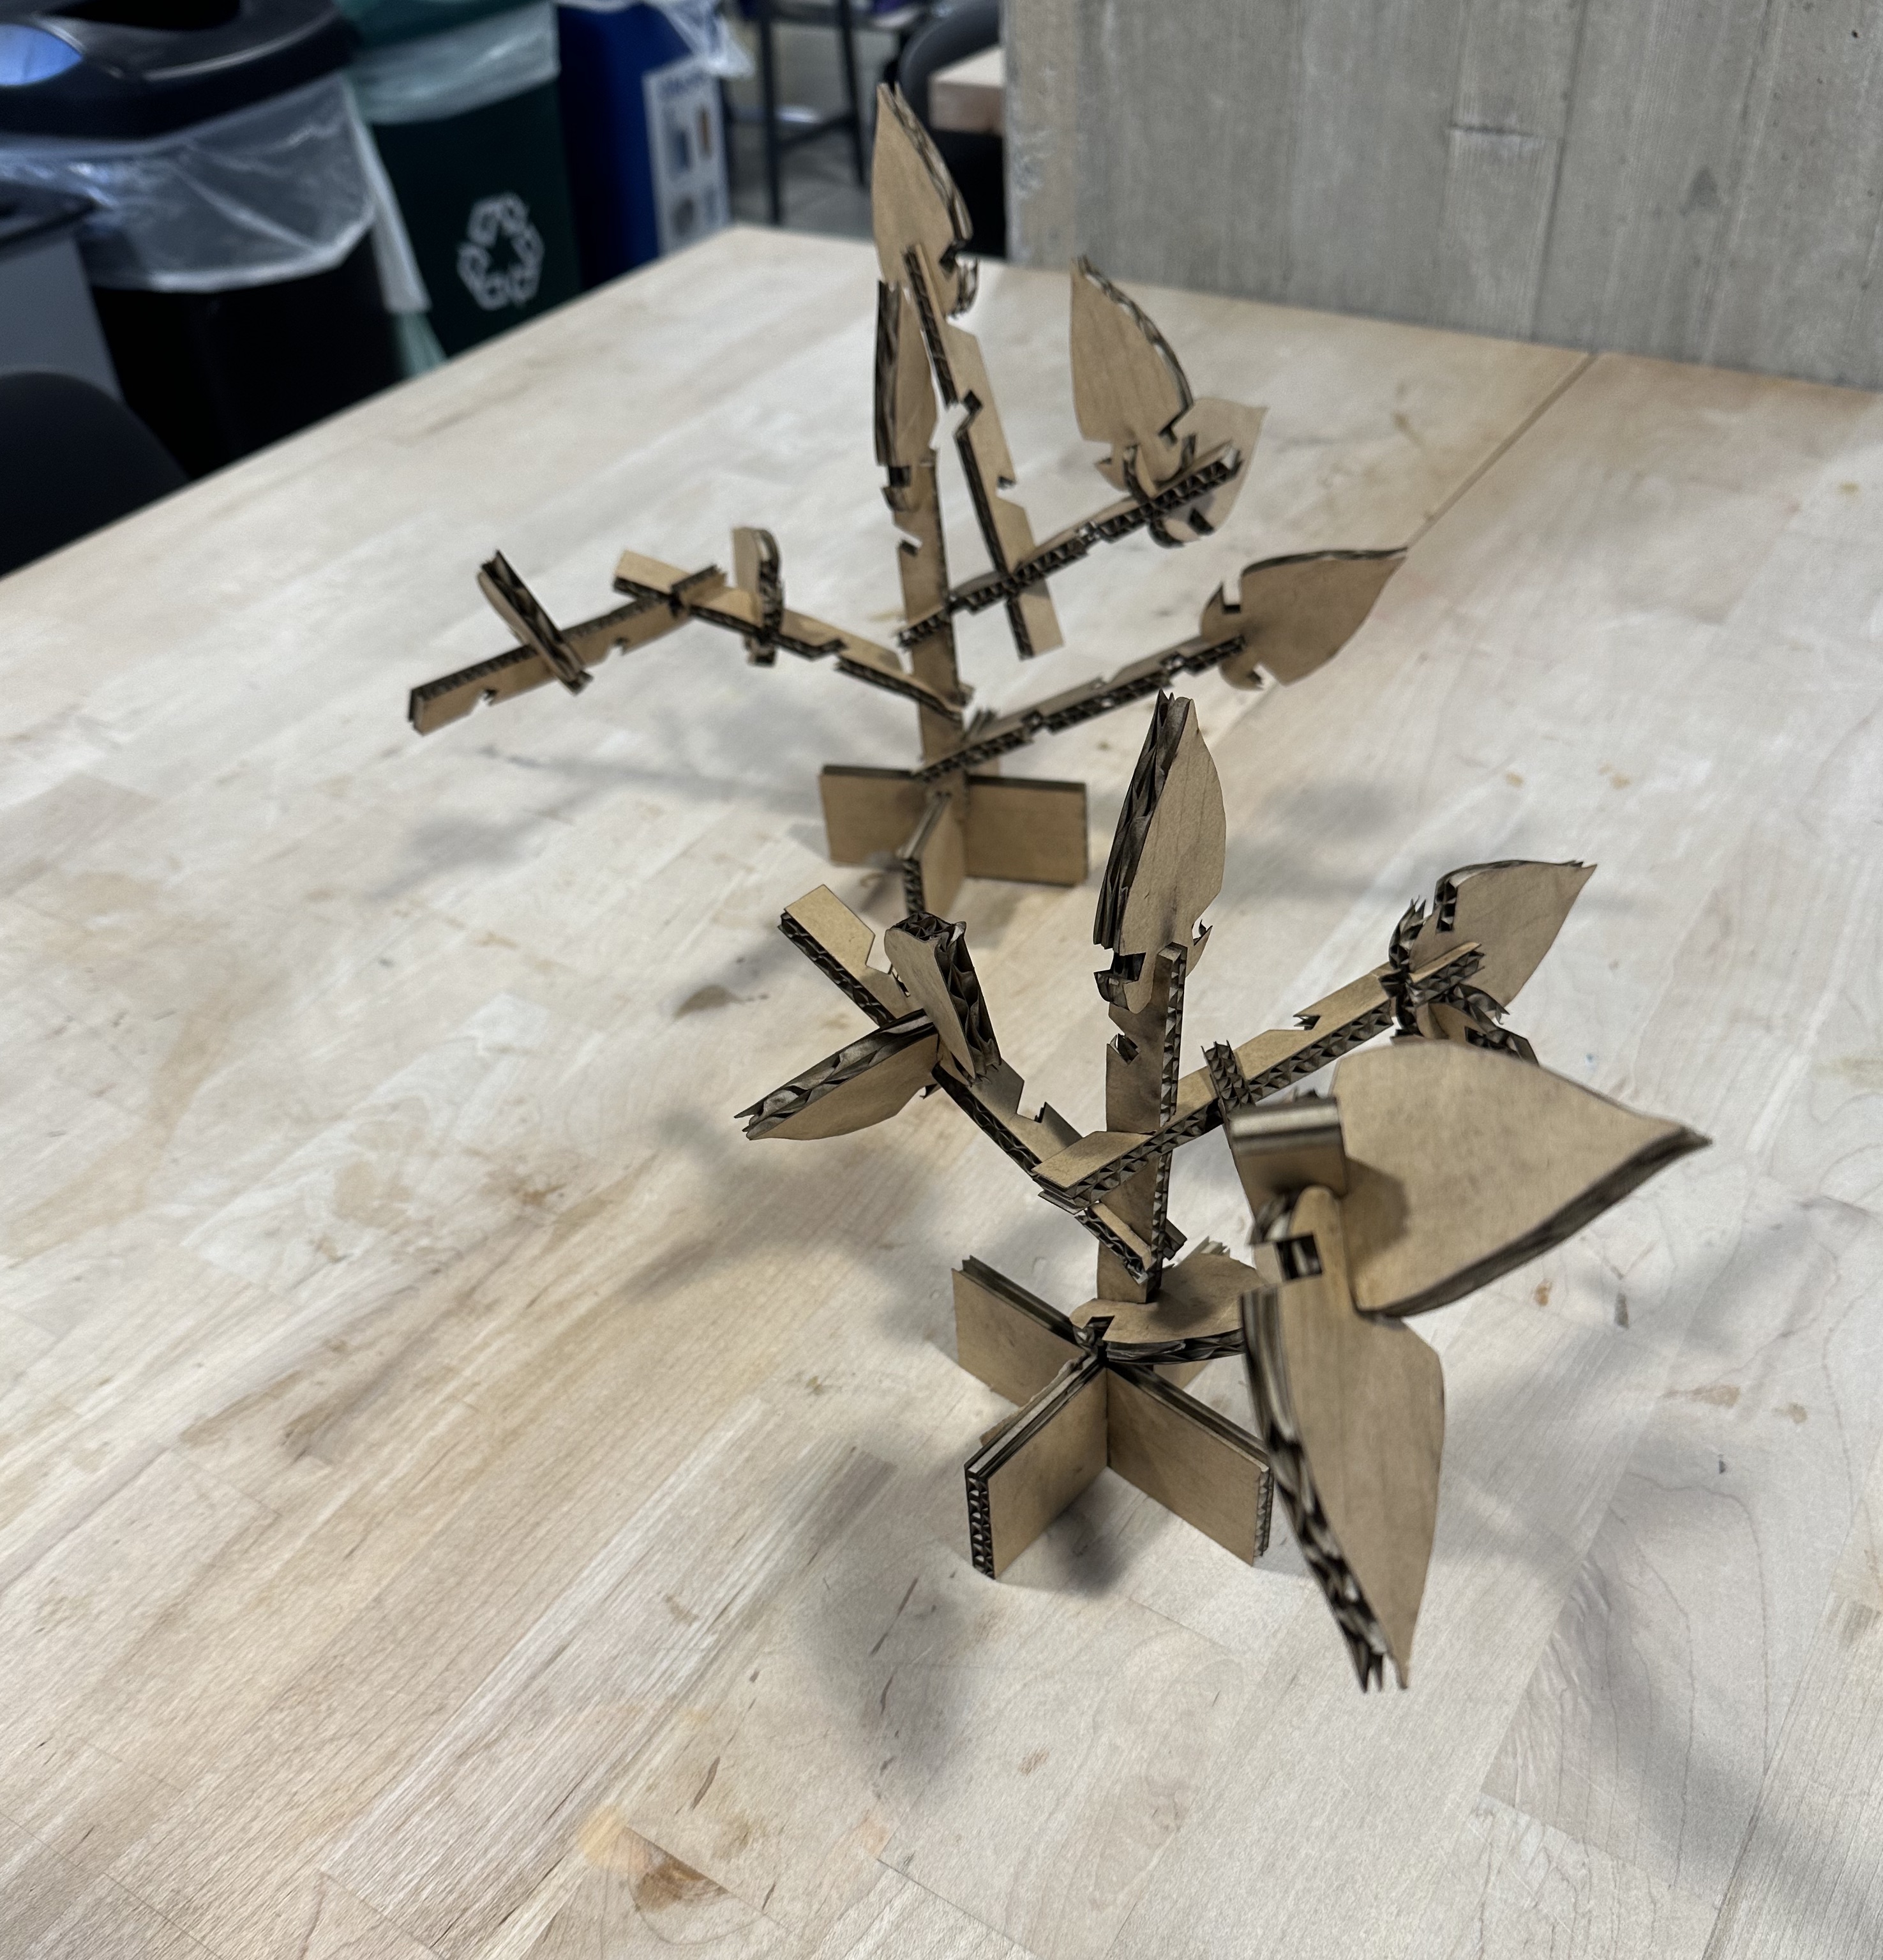
I assembled my kit into two separate standing plants. Unfortunately during the process one piece got broken - but nothing a little tape can't fix!
The plants stand on their own and withstand the shake test, shown here!
Resources
My creations:
Illustrator file
Rhino file
Rhino file 3d leaf
External resources:Rhino forums for advice
Rhino documentation
W3 for some web refreshers
Adobe for mp4 converter
Laser cutter settings
Power: 50%
Speed: 15-25%, multiple cuts
Doc size: 32in x 20in
Stroke size: 0.001in
Print type: vector
Speed: 15-25%, multiple cuts
Doc size: 32in x 20in
Stroke size: 0.001in
Print type: vector