

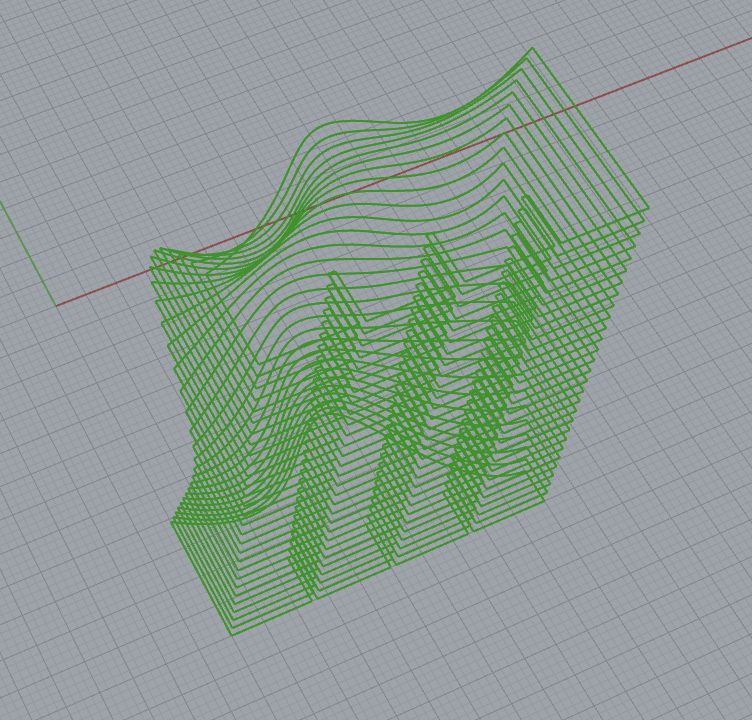
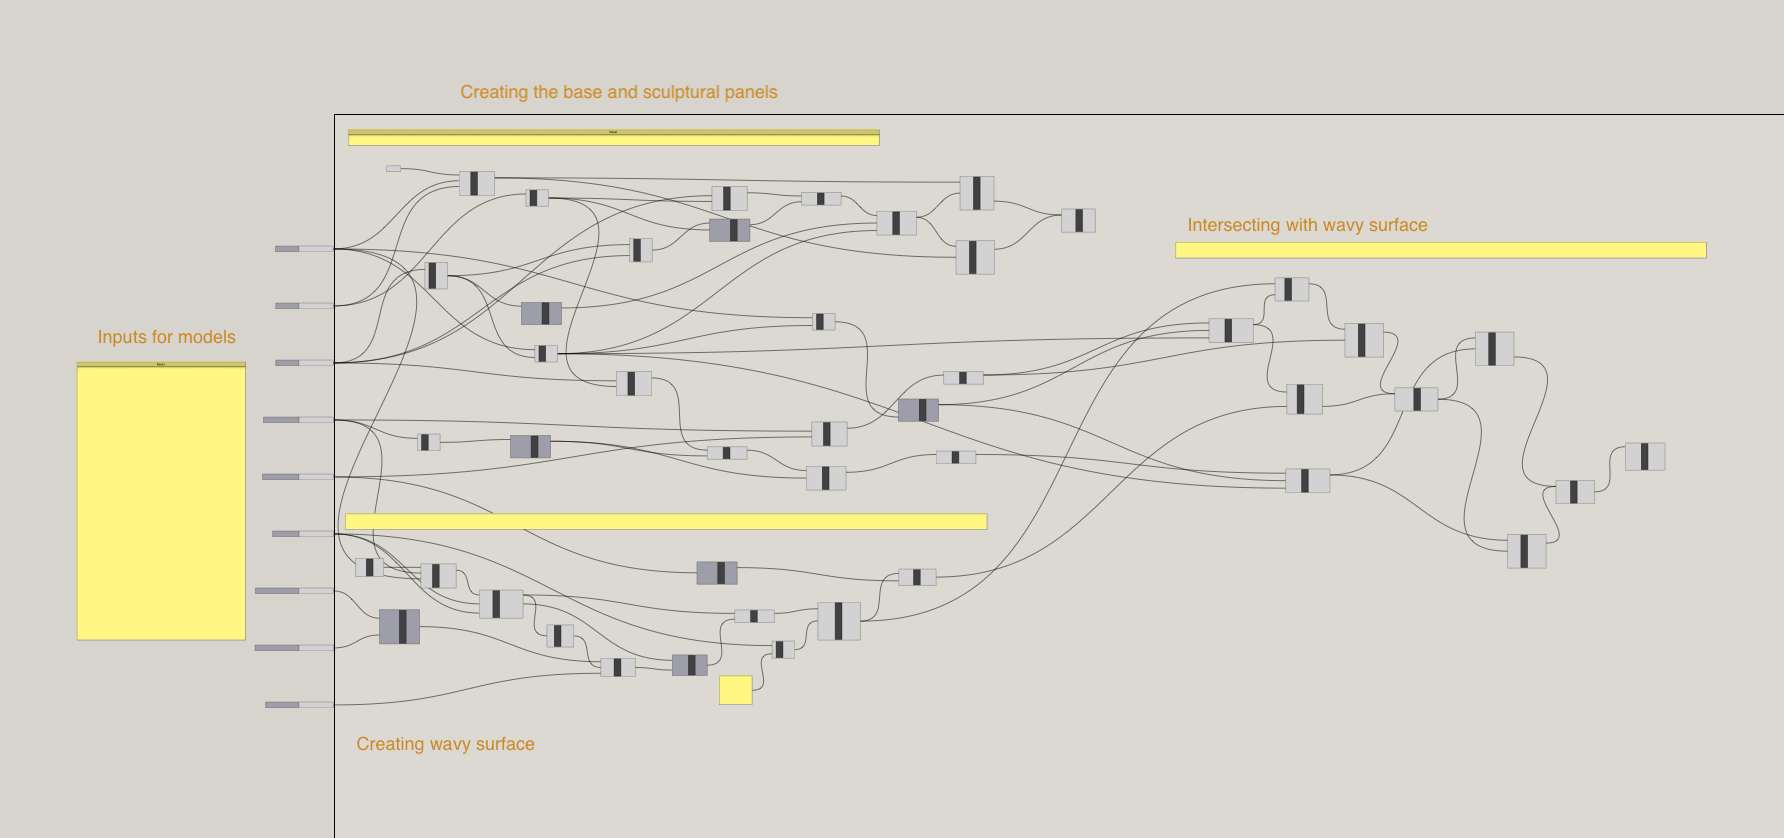
Grasshopper definition
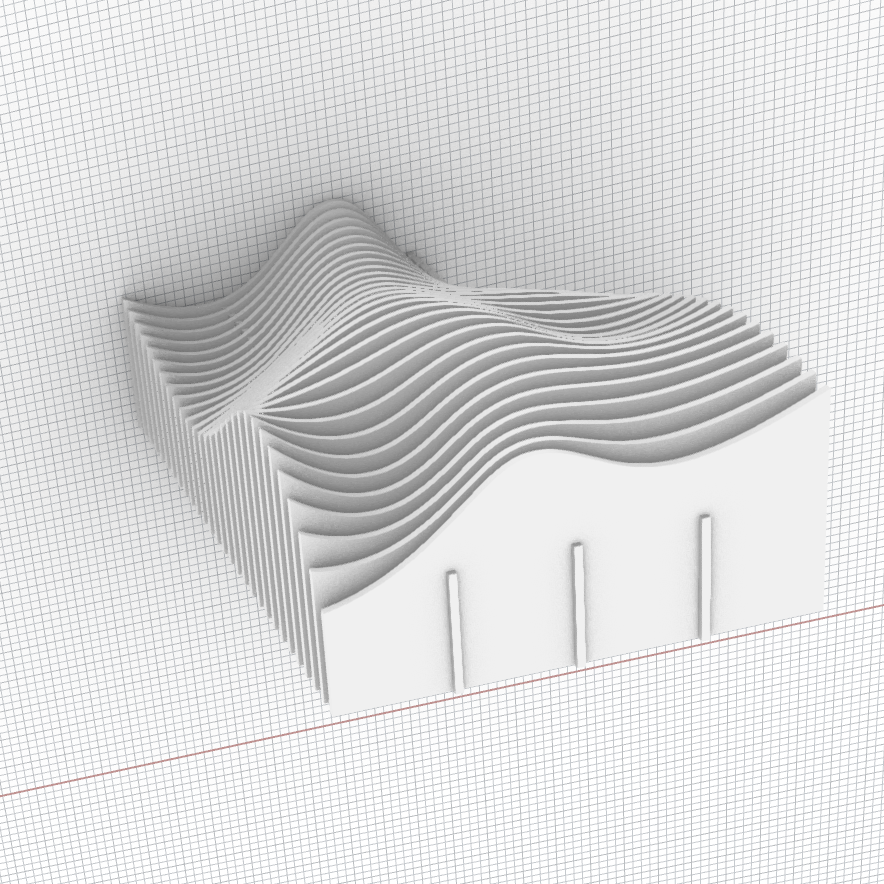
Rhino file (3d and flat)
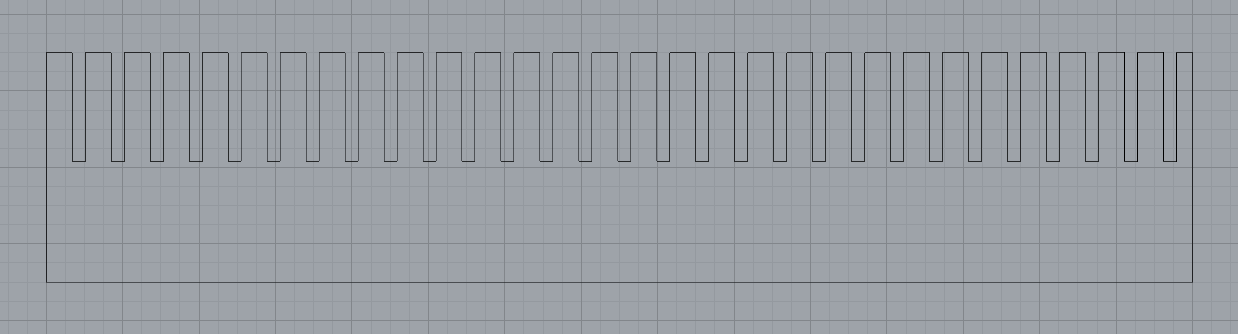
Illustrator file
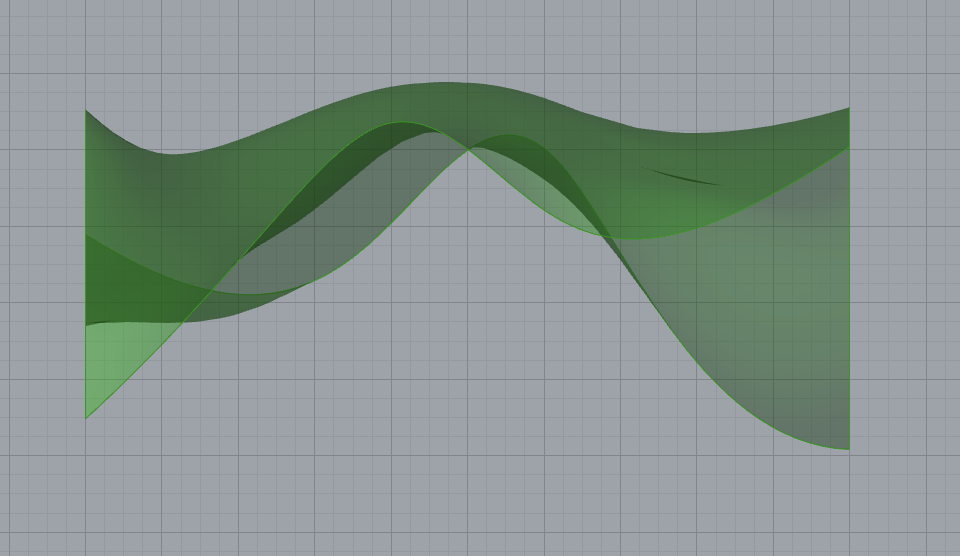
External resources:Wavy surface tutorial
Rhino documentation
Grasshopper documentation
Blog on list actions
Trim/split tutorial
Lots of Rhino forum posts, Grasshopper forum posts, and Reddit posts:
1 , 2 , 3 , 4 , 5 , 6 , 7 , 8 , 9 , 10 , 11 , 12 , 13