Steps (jump to part 2!)
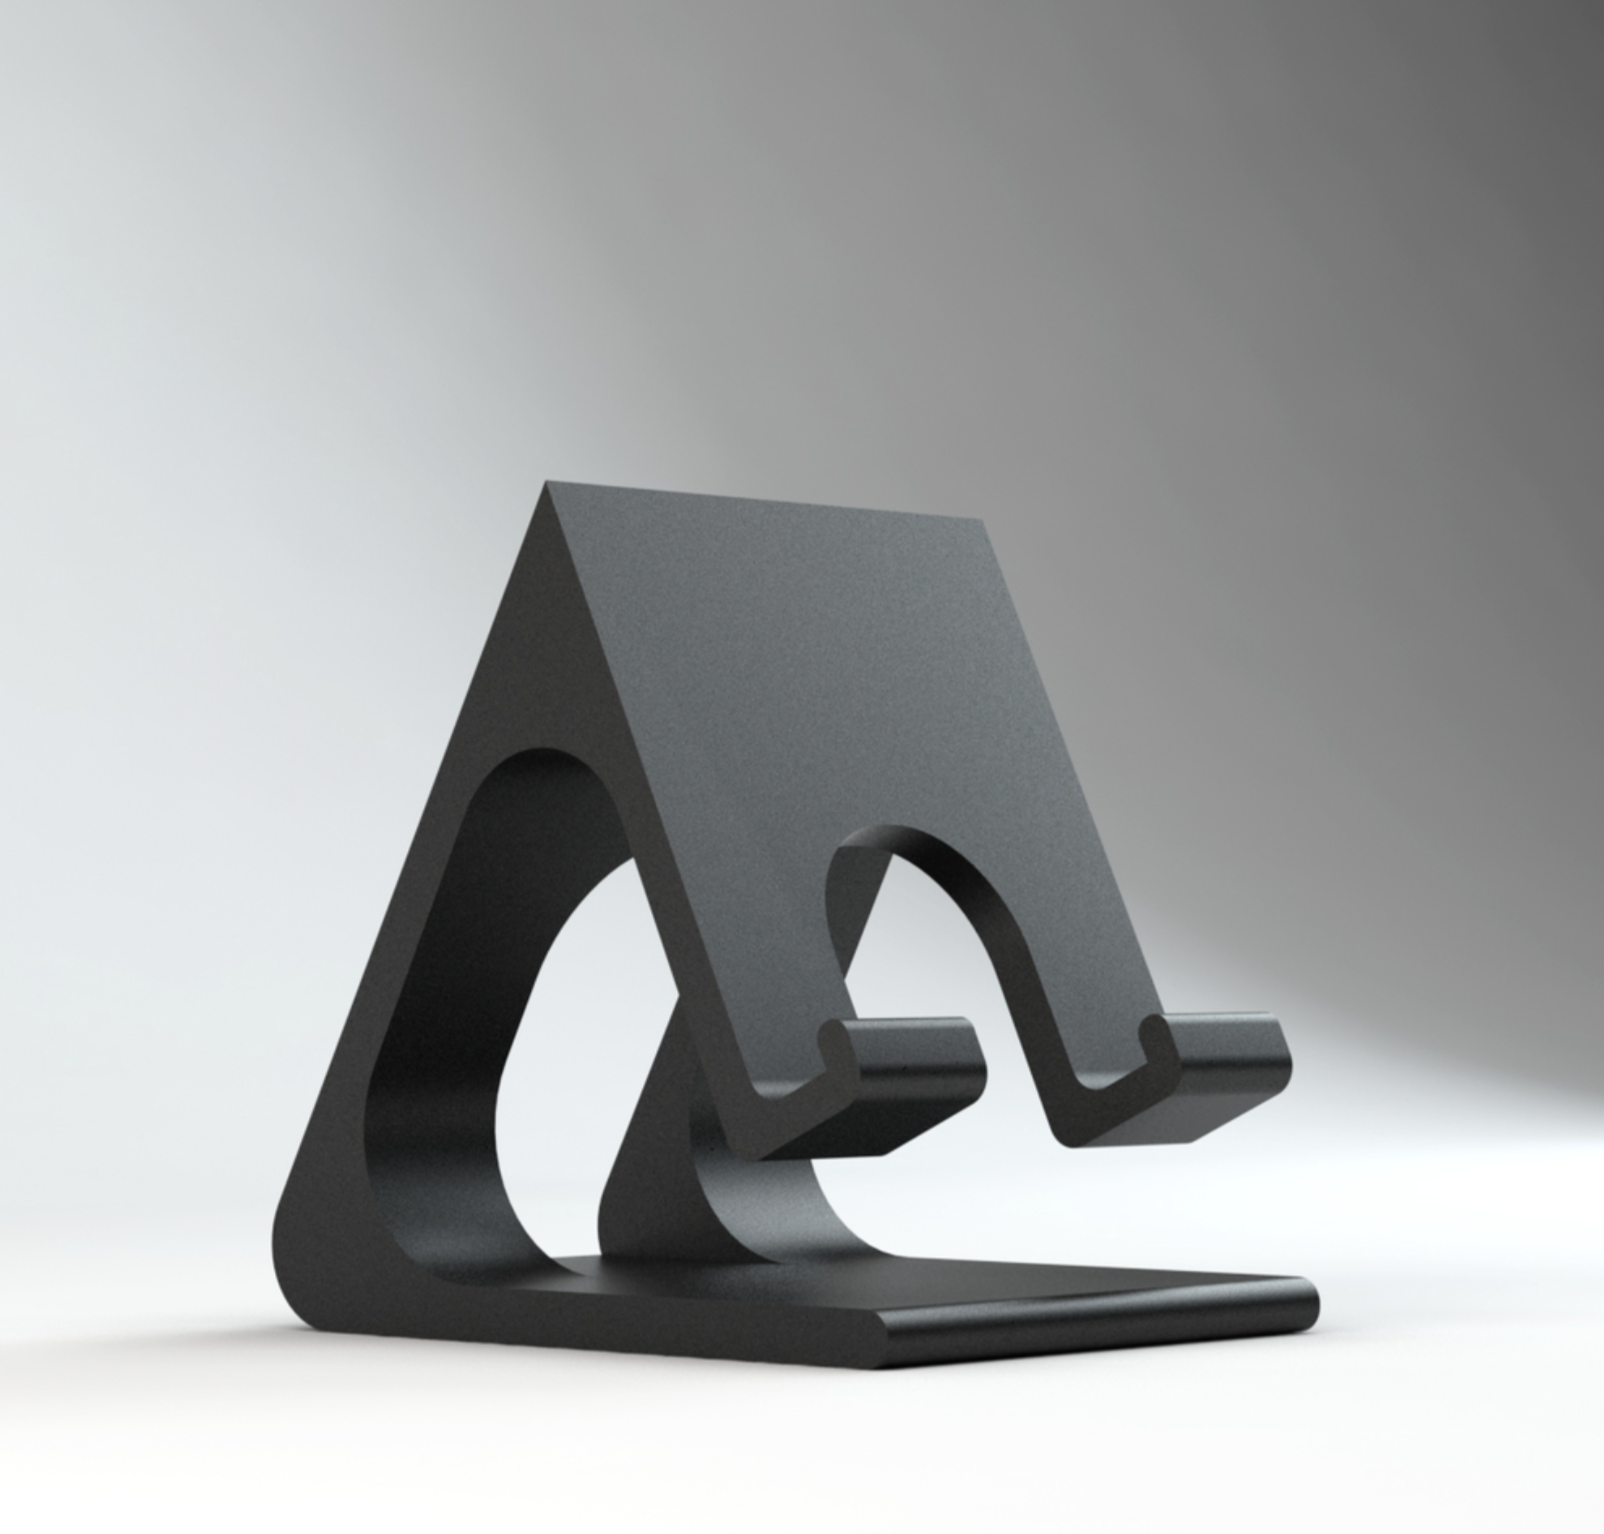
Phone stand
Computer stand
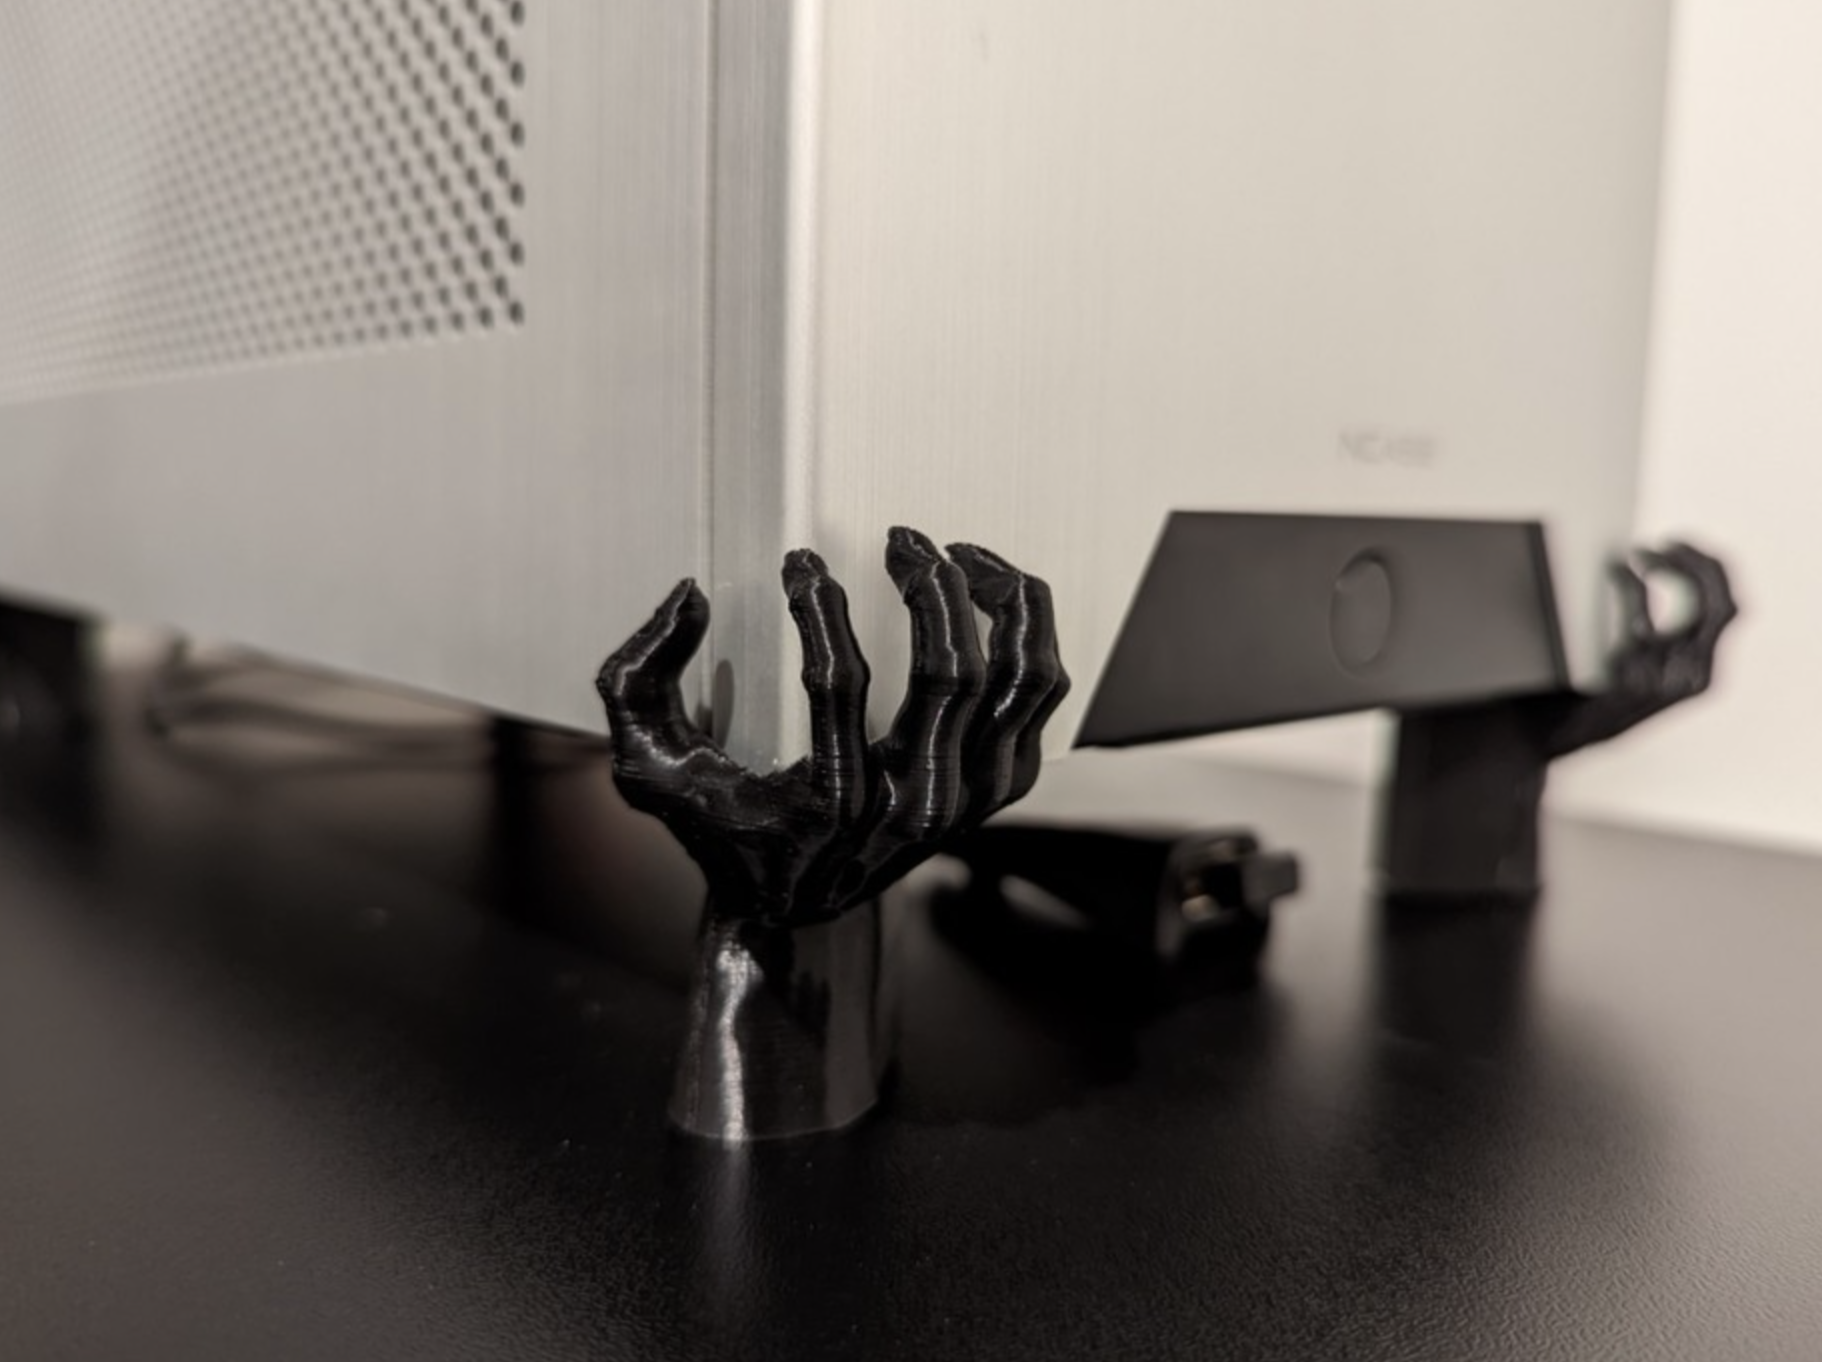
Headphone stand

I started off with this terrifying drawing:
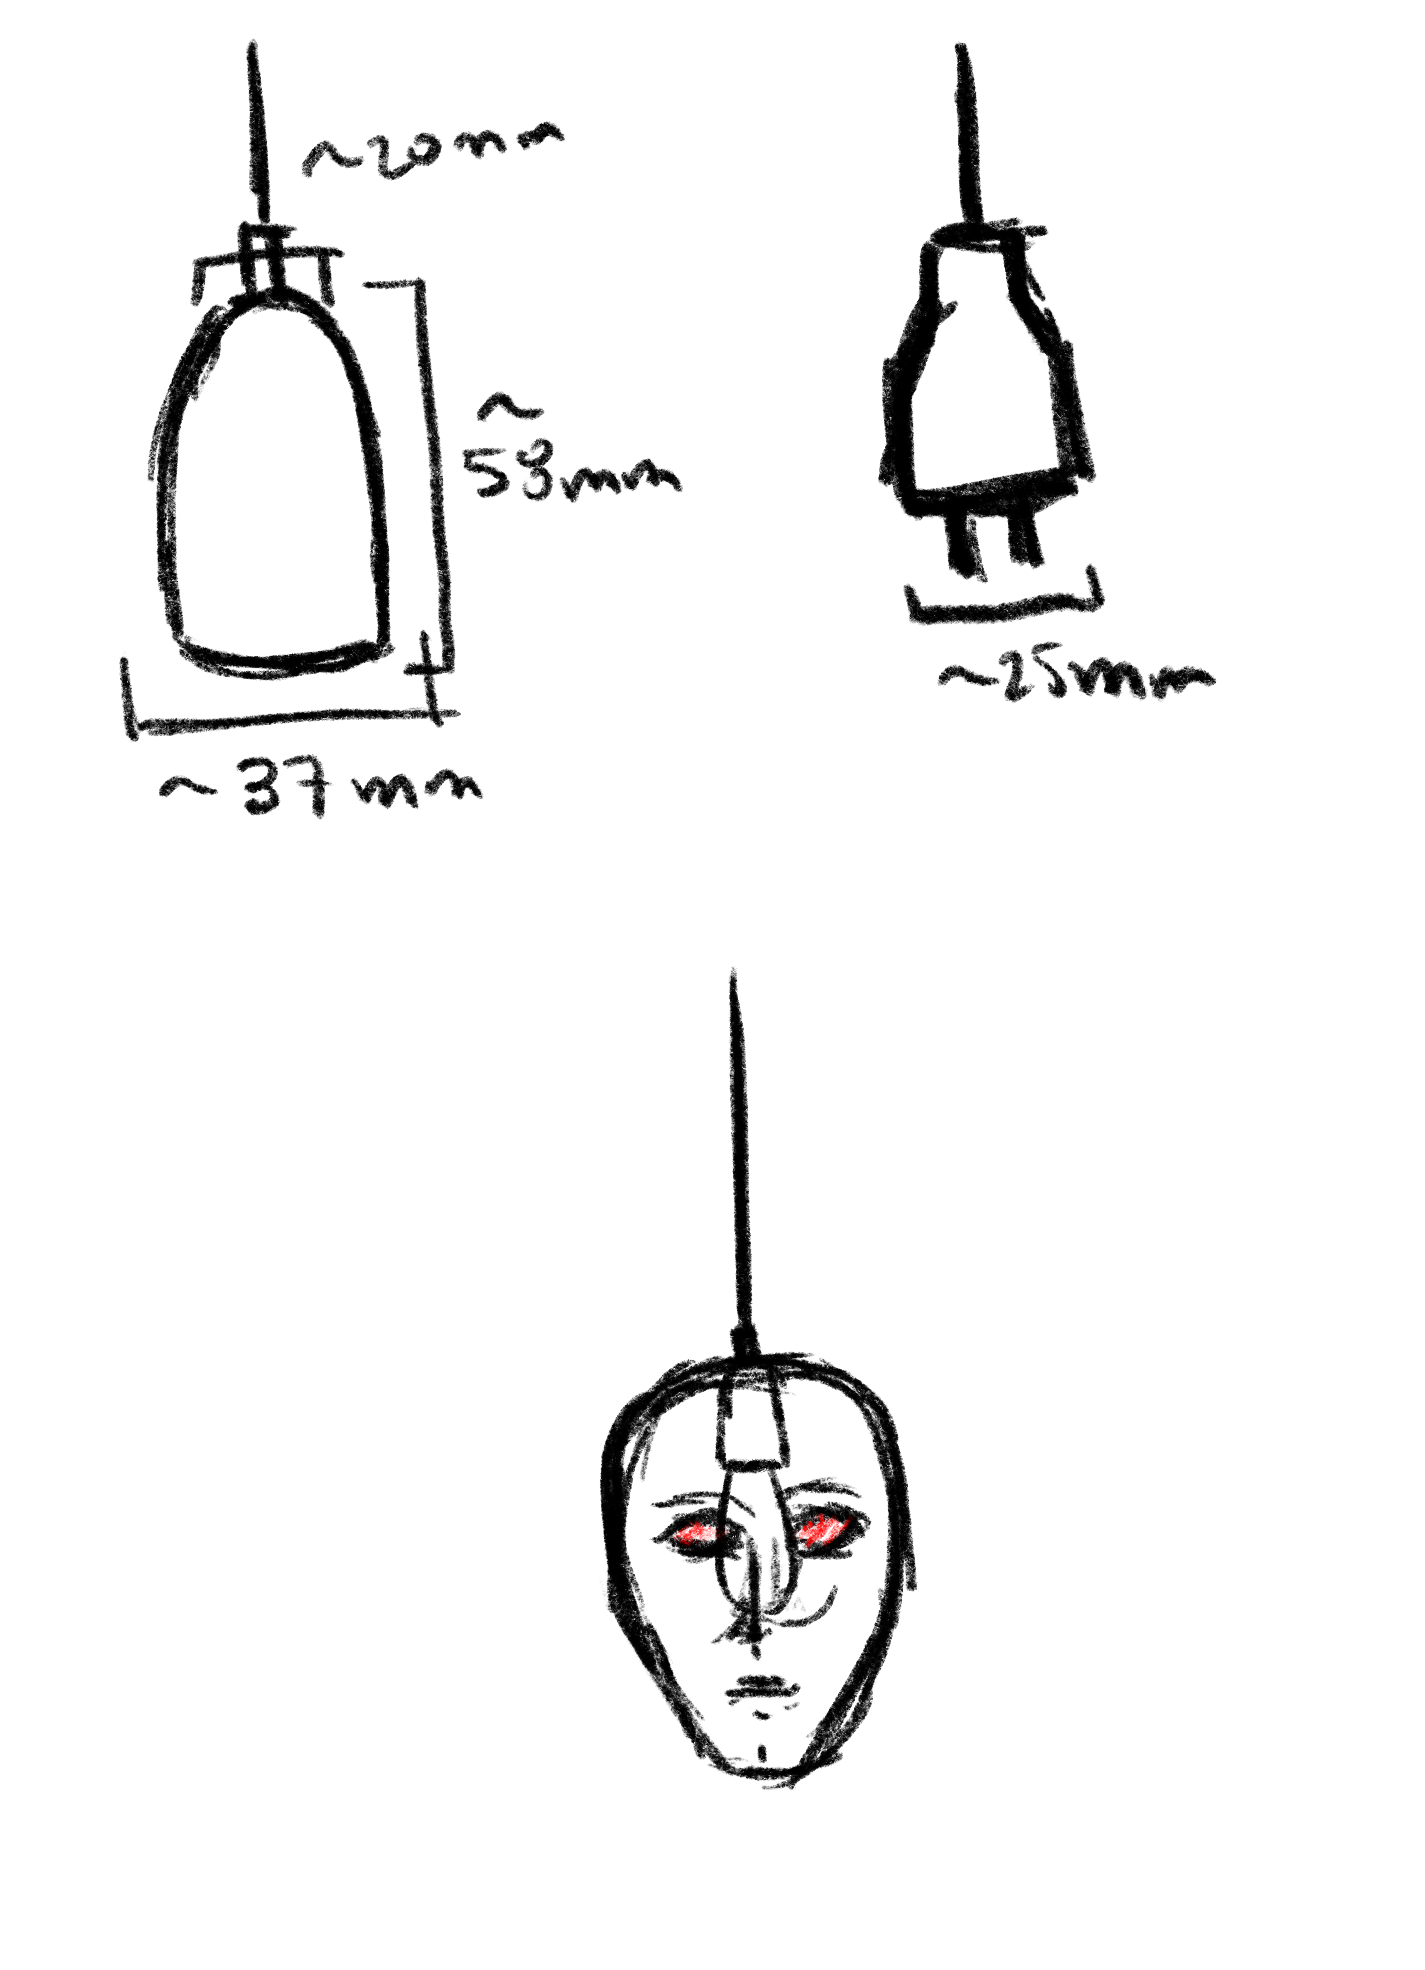
Which resulted in the following STL:
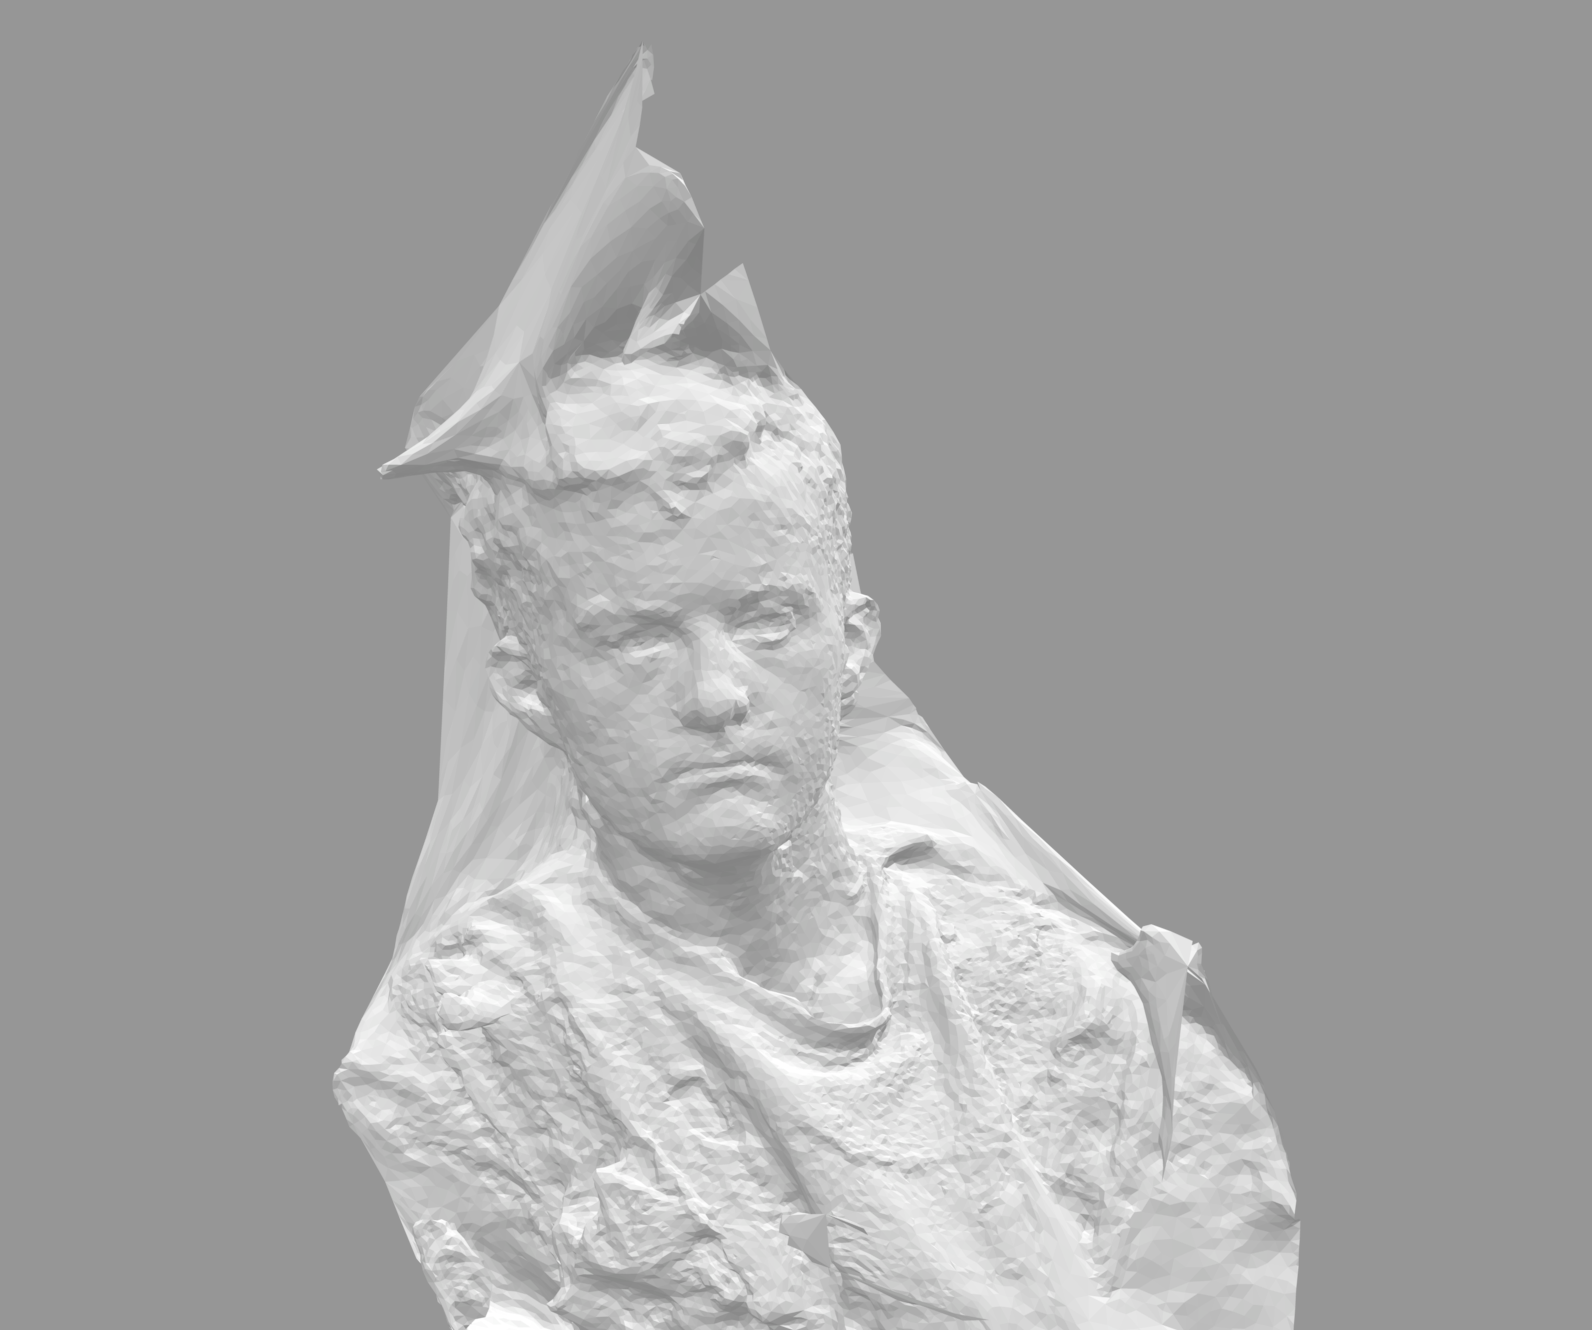
To do this, I created panels around a single face mesh, then used boolean difference to create a single solid mesh. I then mirrored the fully solid mesh and used boolean union to join the two sides.
During this process, I tried out my first small print to make sure that this was feasible!
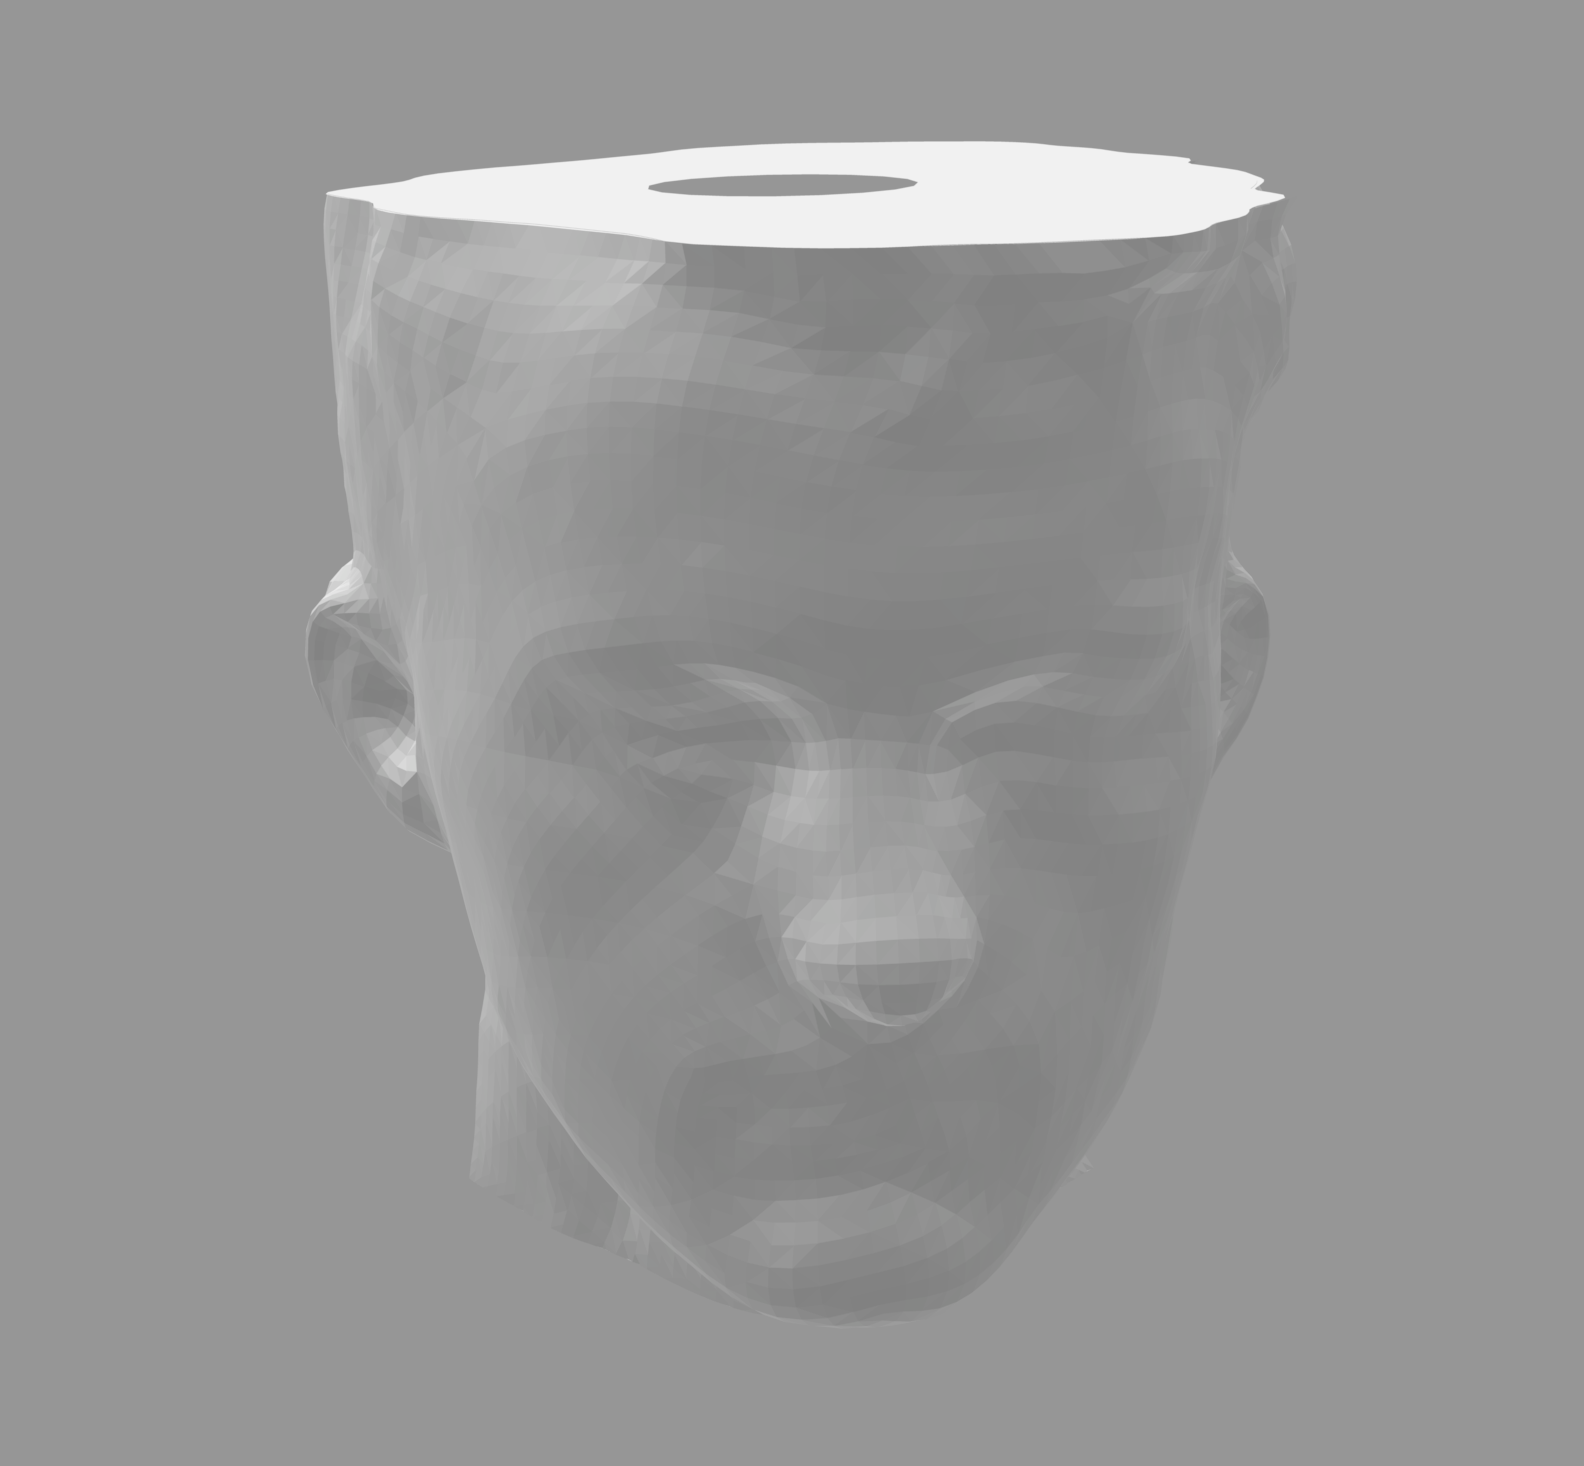
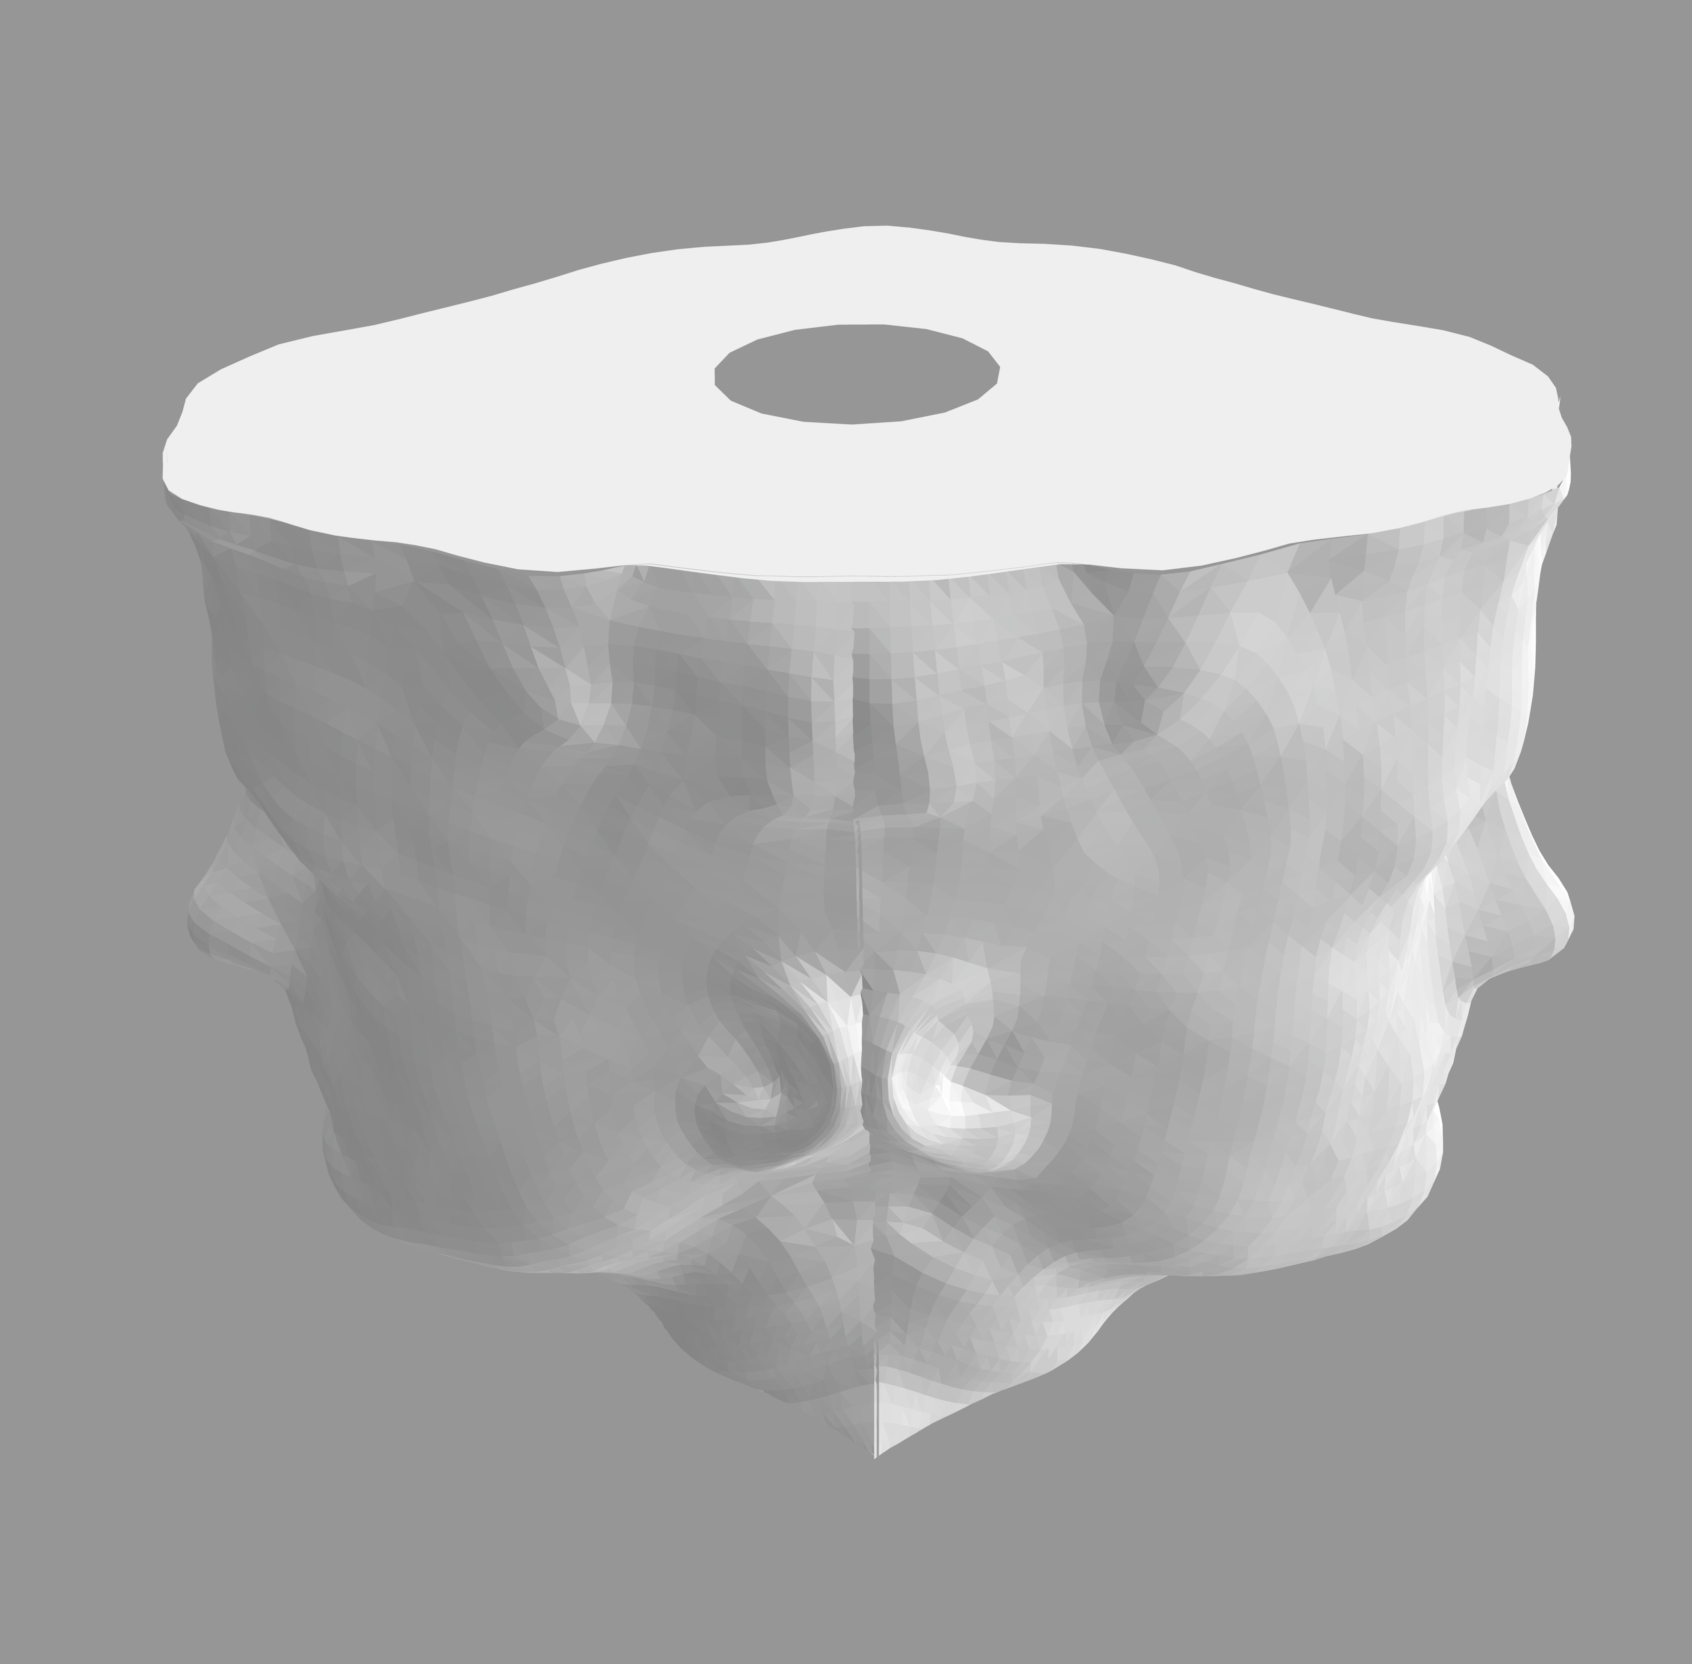
I also added a central cylinder that was large enough for the lamp plug to fit through and that could rest on top of the lamp innards to act as a lampshade. I used this to boolean difference the two pieces of the lamp.
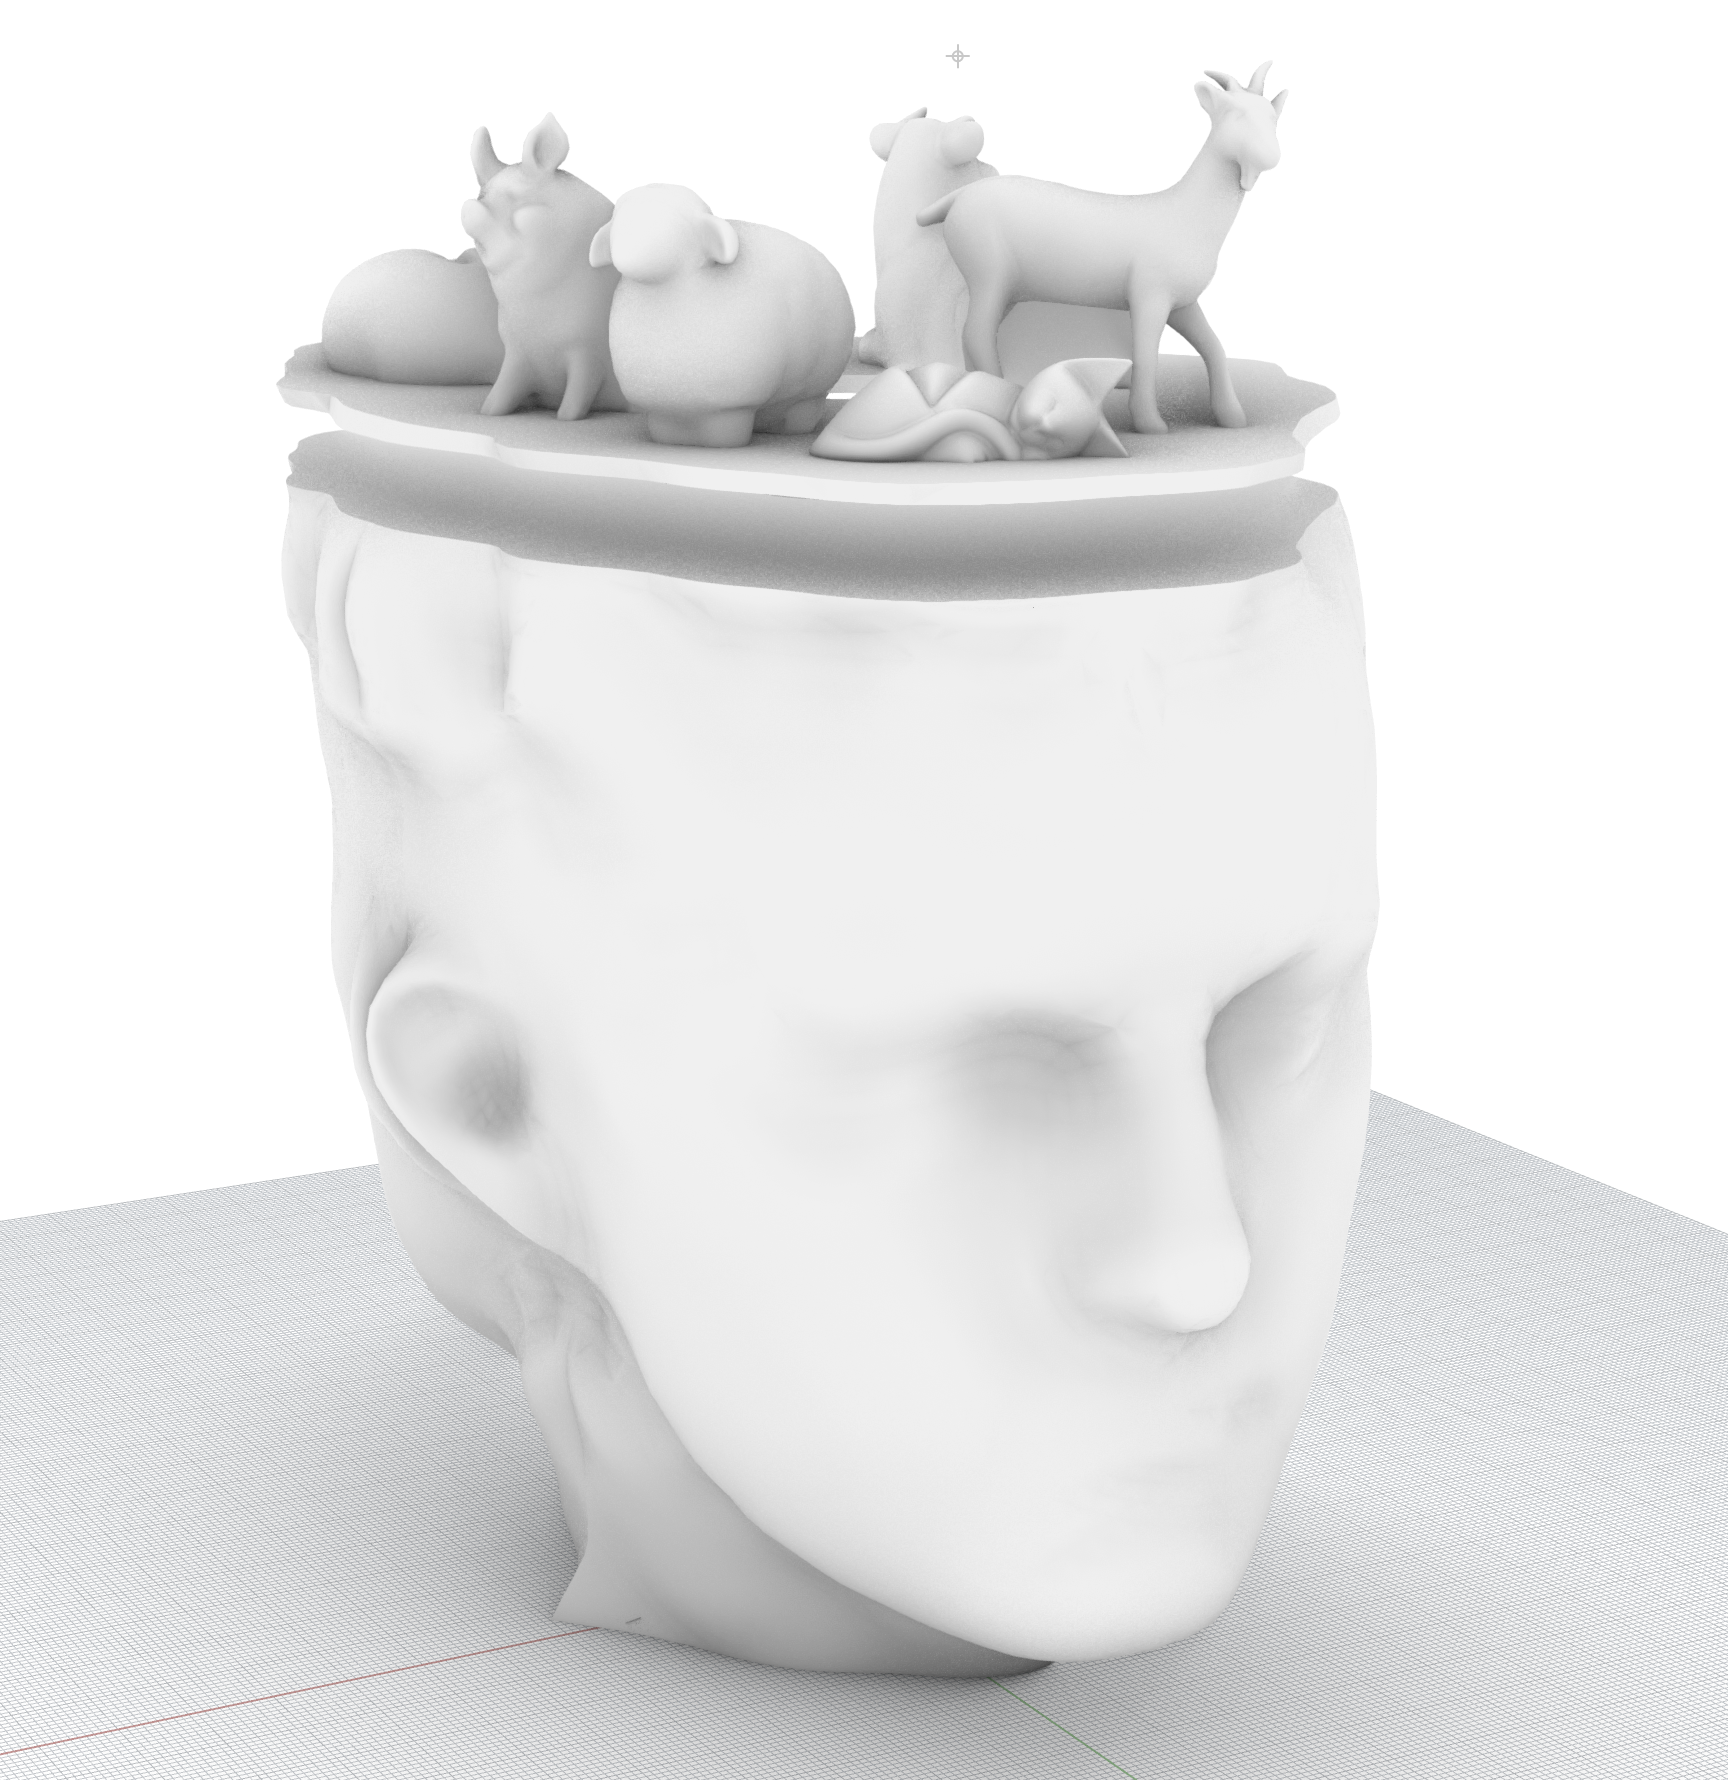
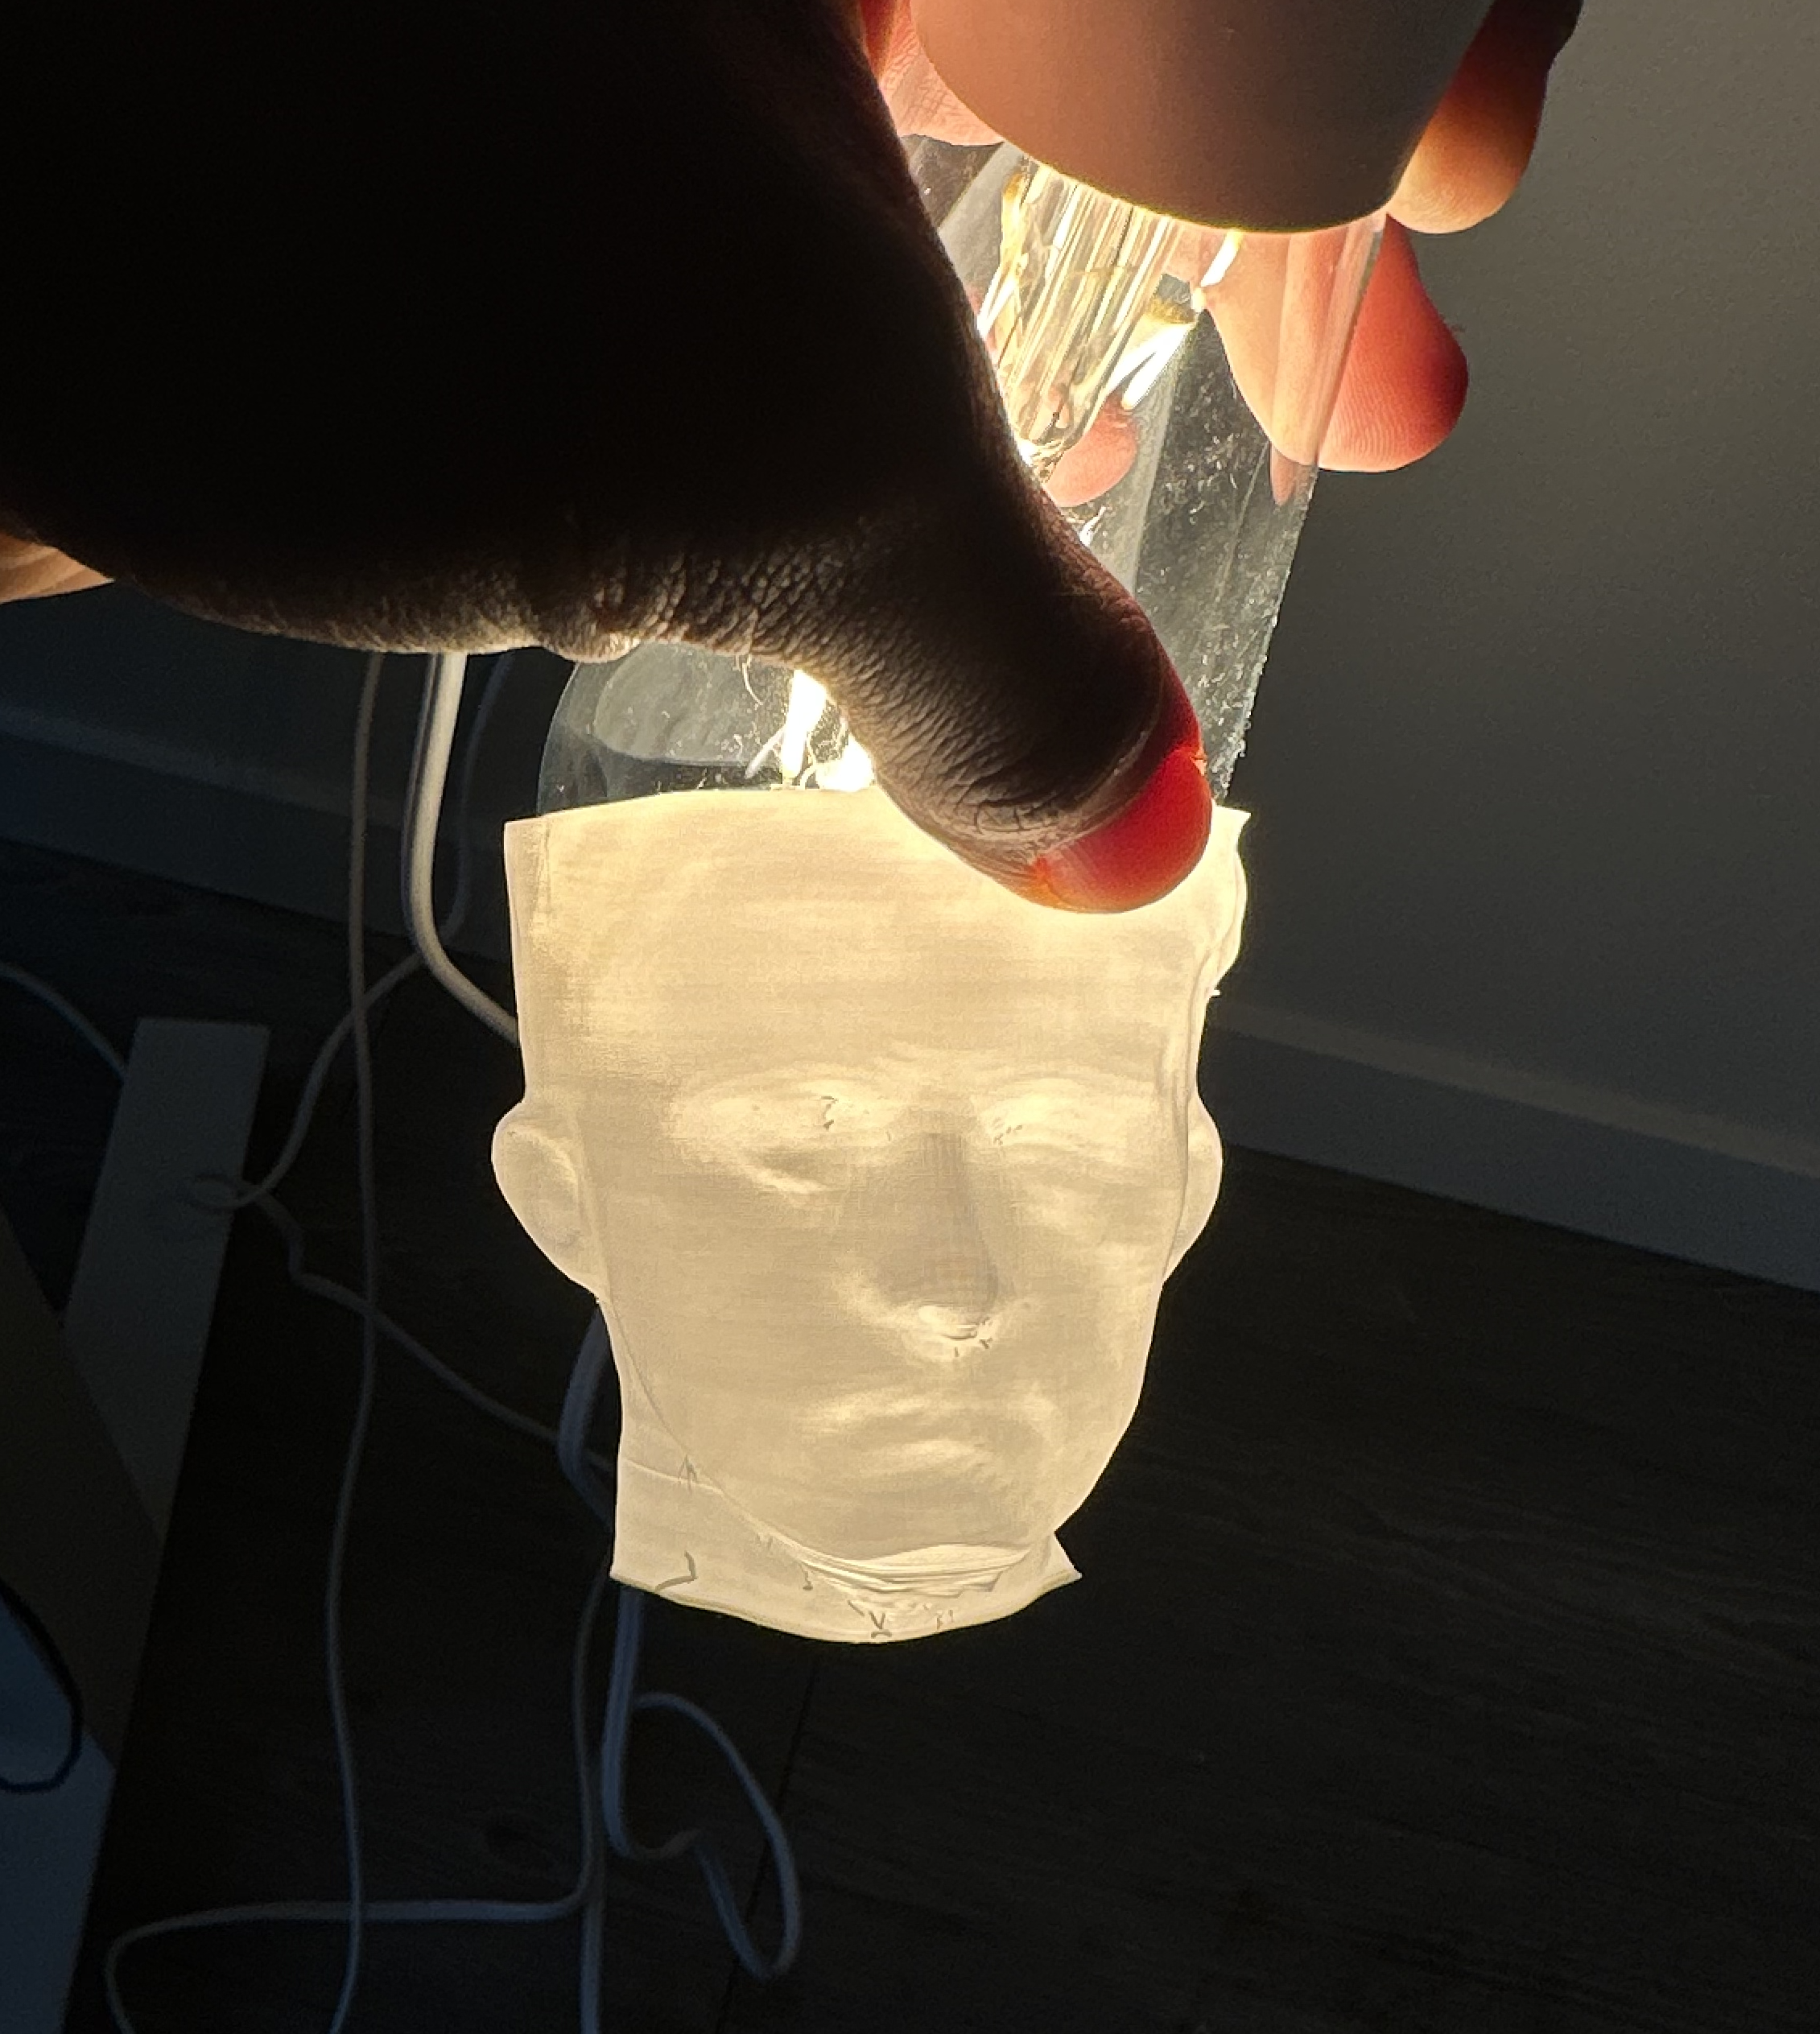
I printed the head separately which took quite a few hours over multiple started/stopped prints. I then printed the animal top panel as a solid, also with tree supports, which took another 9ish hours.
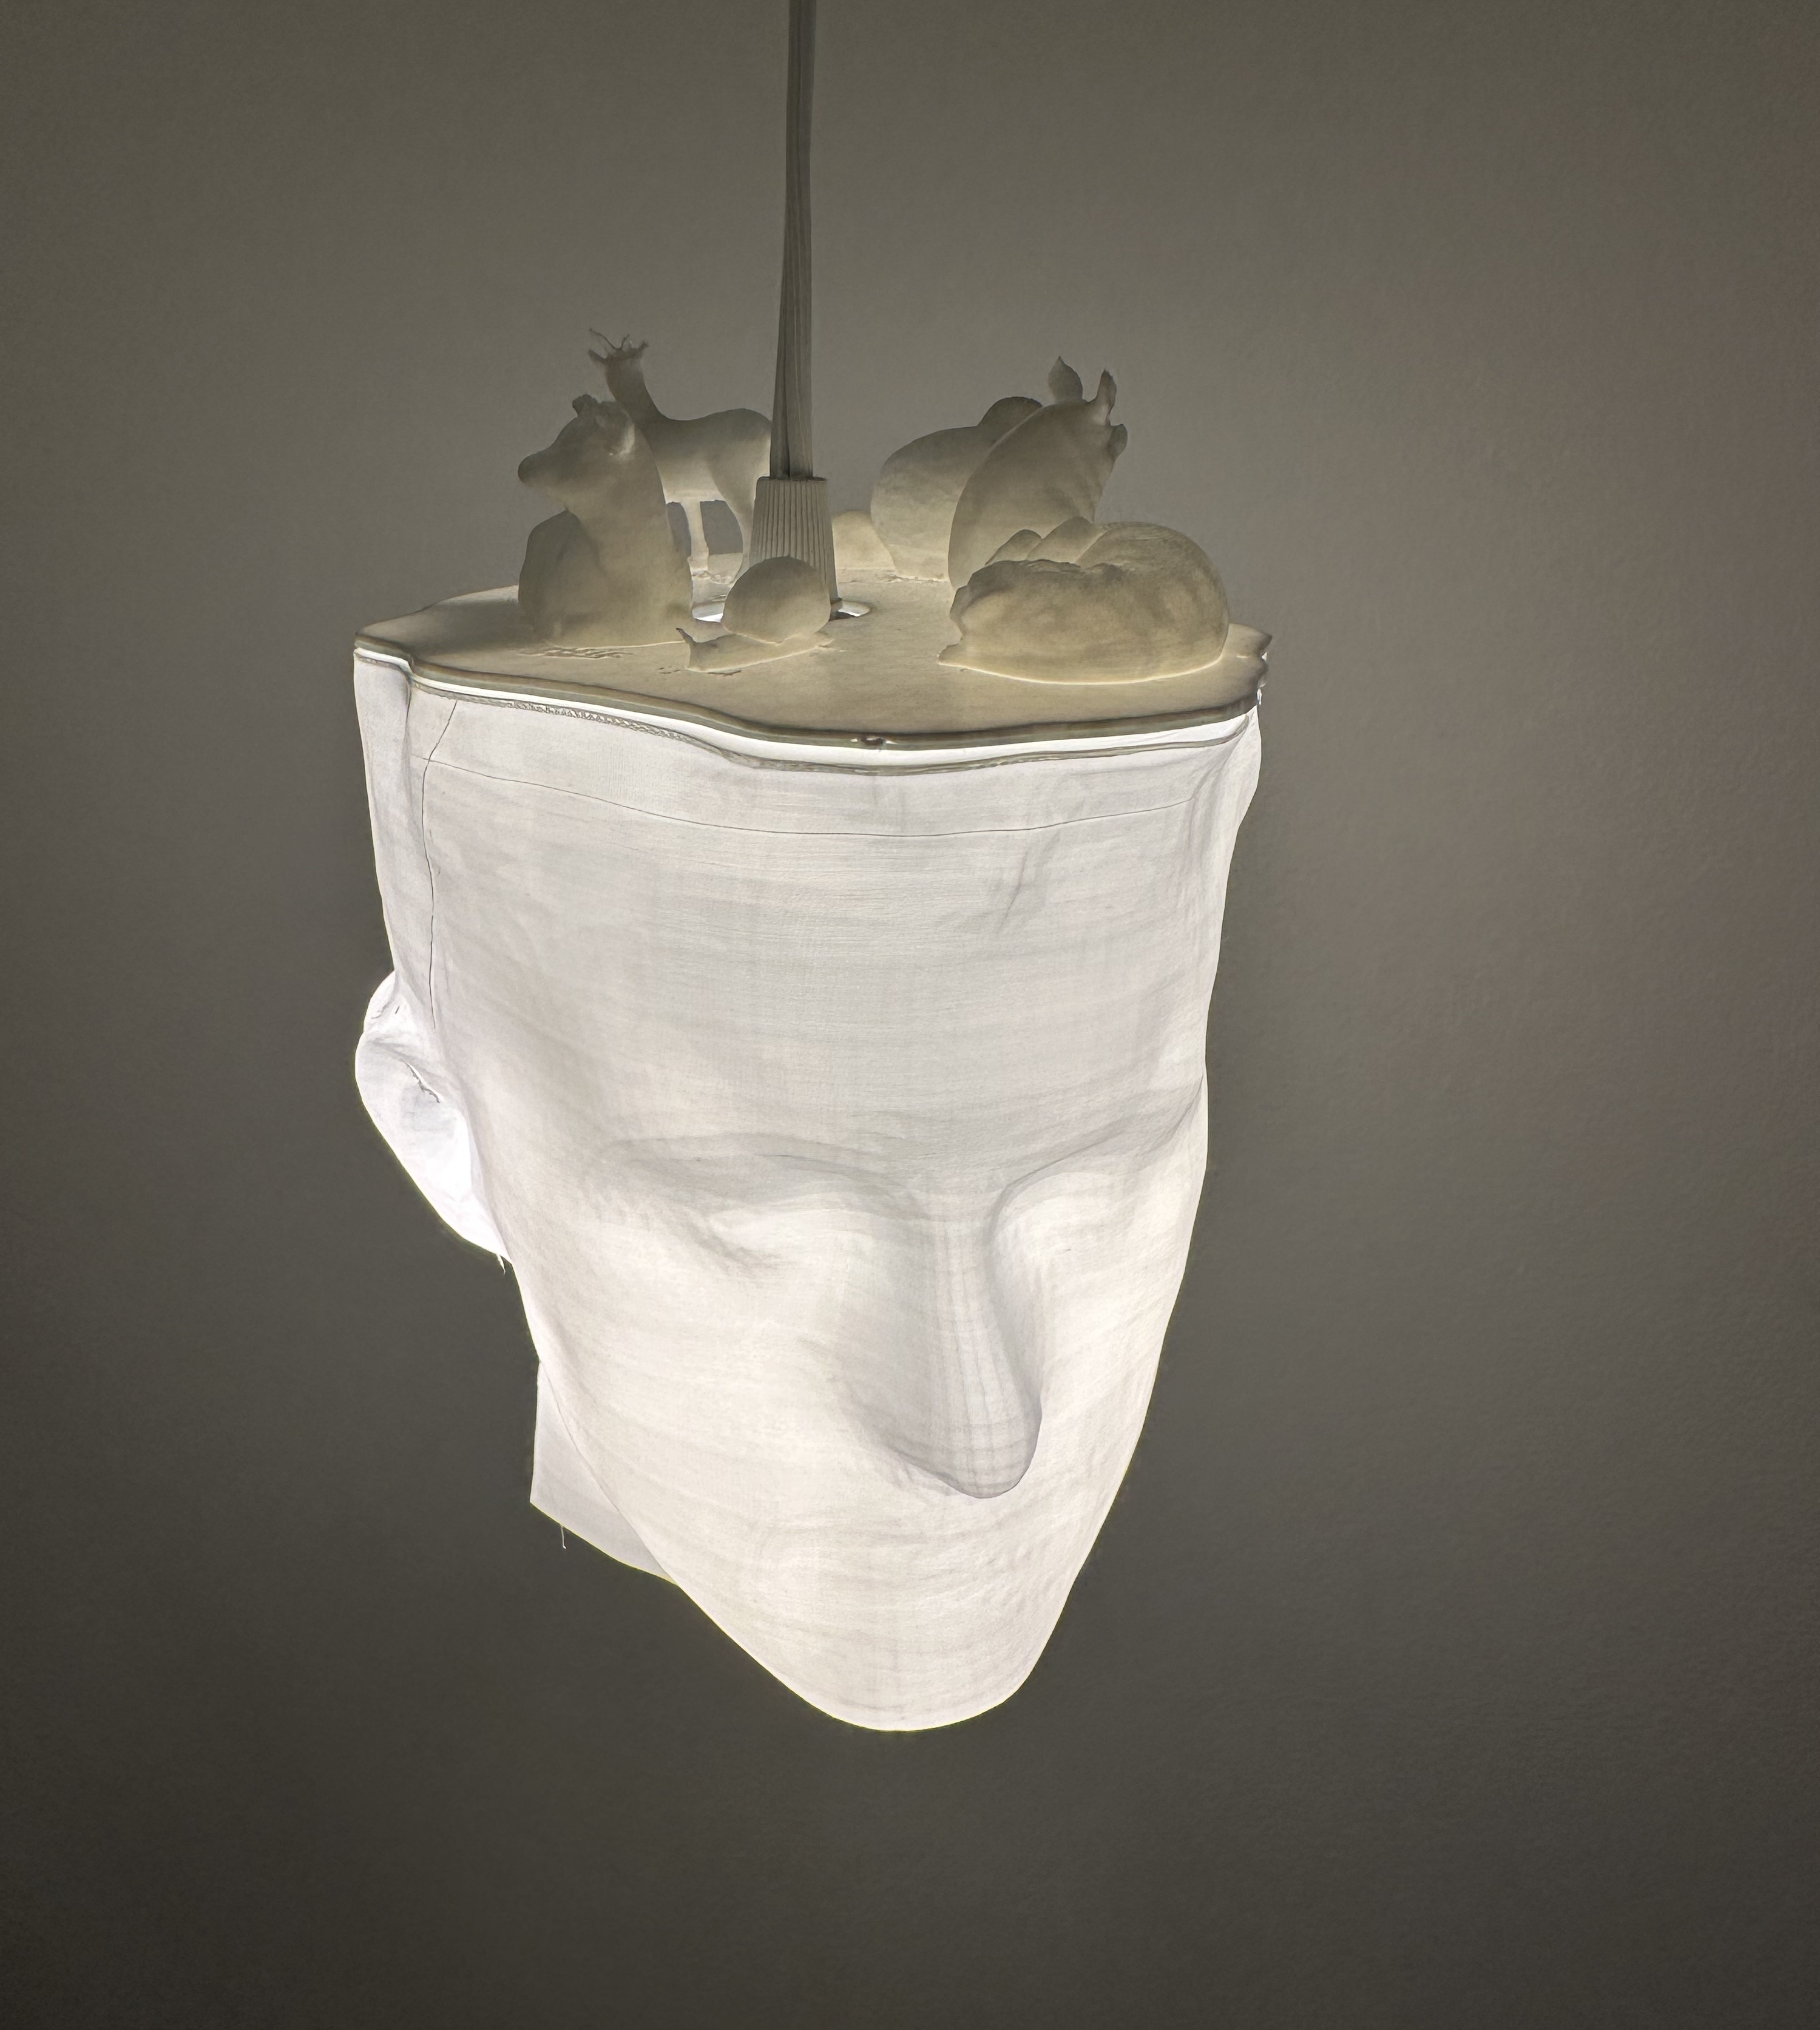
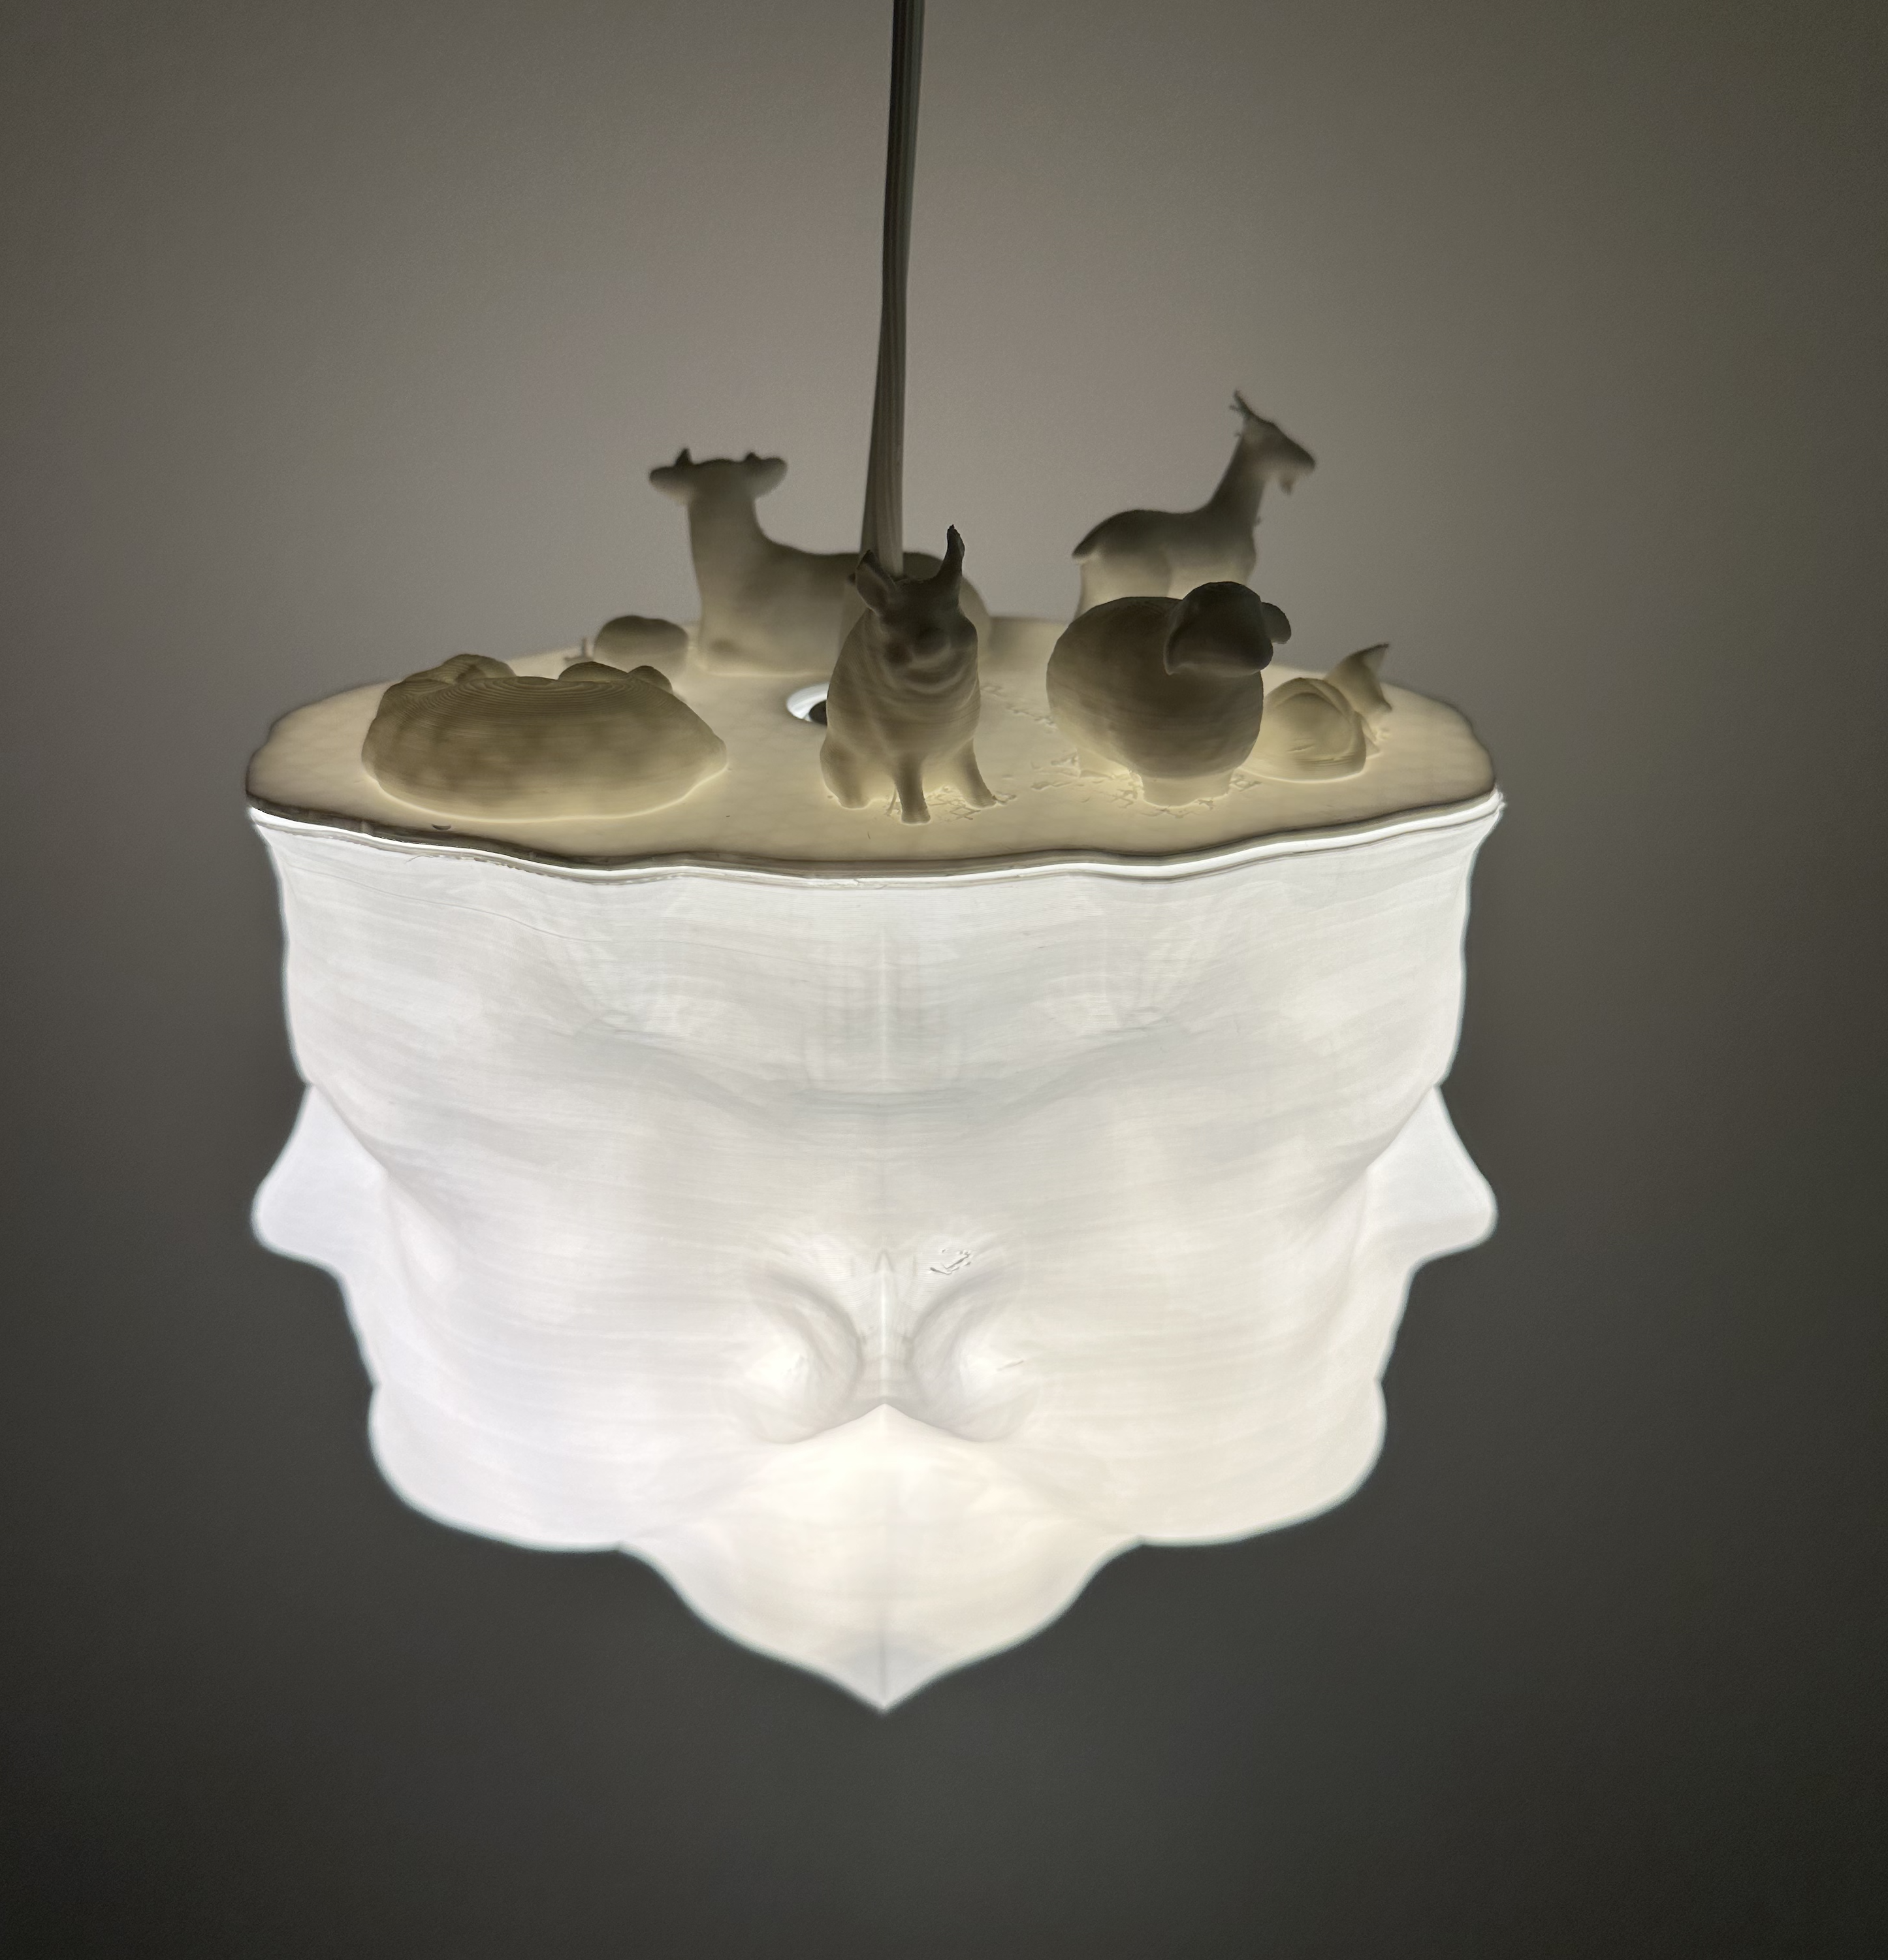
Finally, I assembled! I had to pull out the cylinder from the head piece, then I attached the two panels using tape glue and then ran the cord through the hole in the top, and rested the lamp on the innards! I had to add a small counter weight inside of the shade, but otherwise it all worked out.
Resources
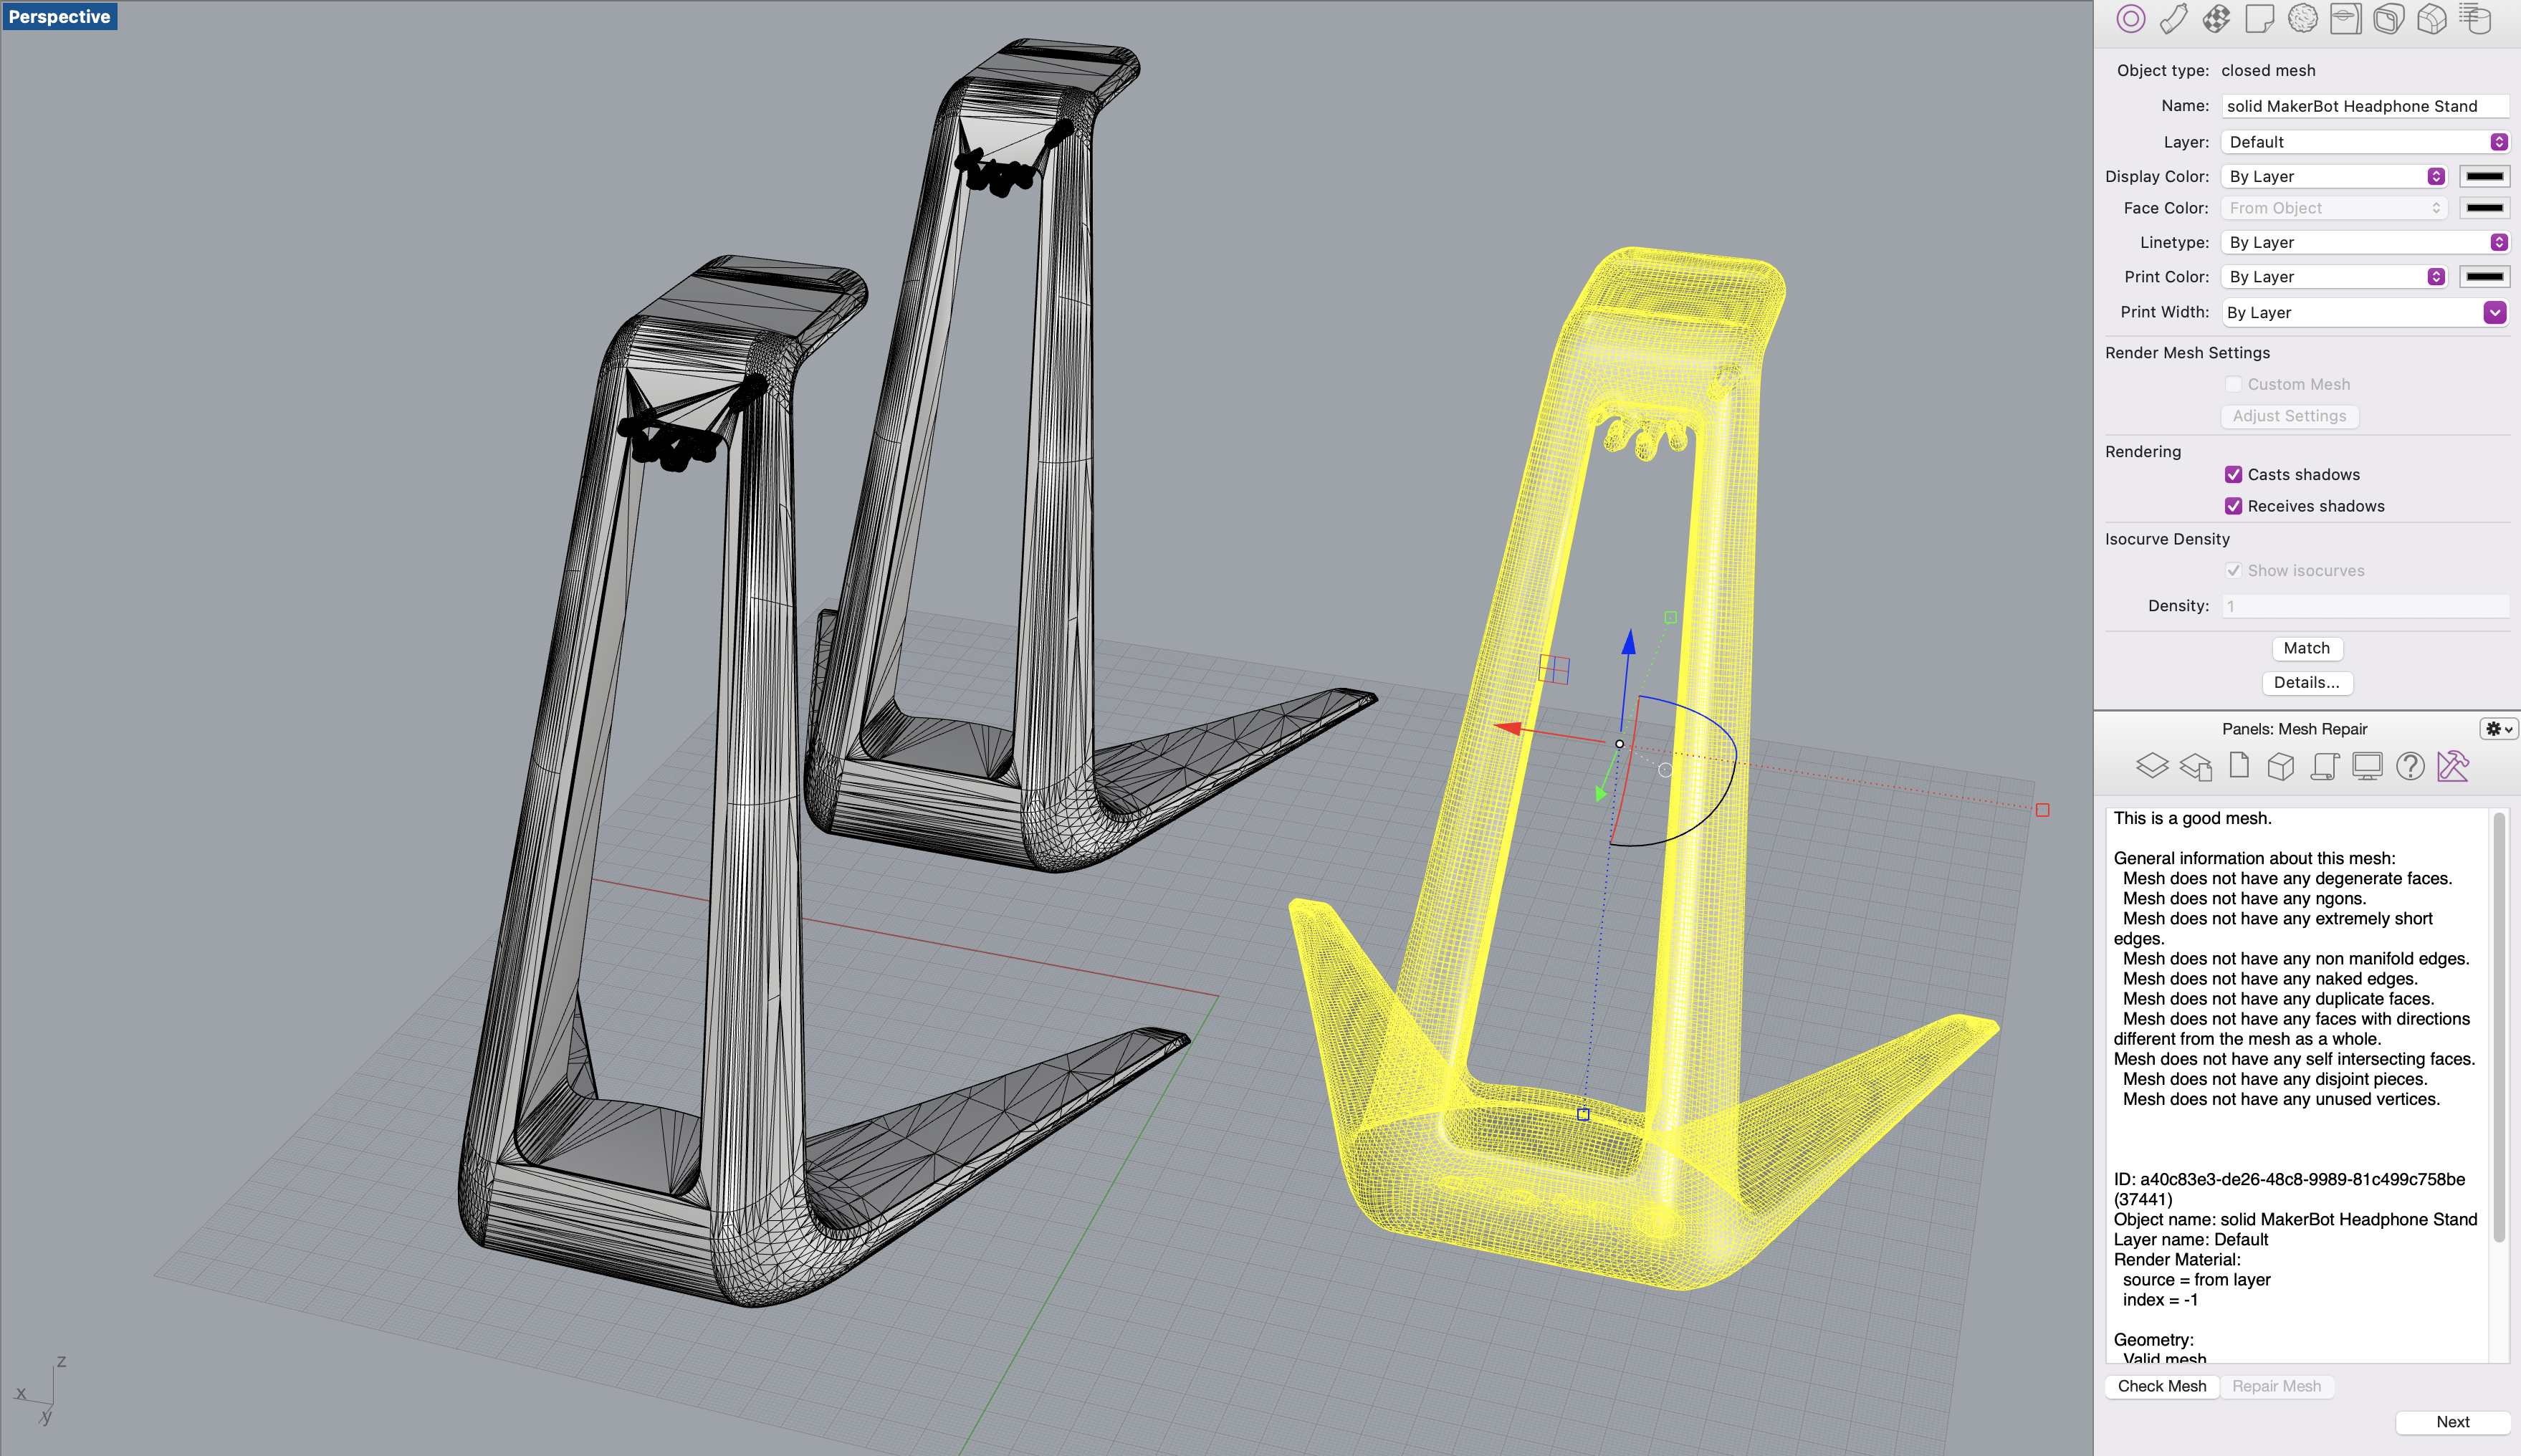
Merged headphone stand 3dm
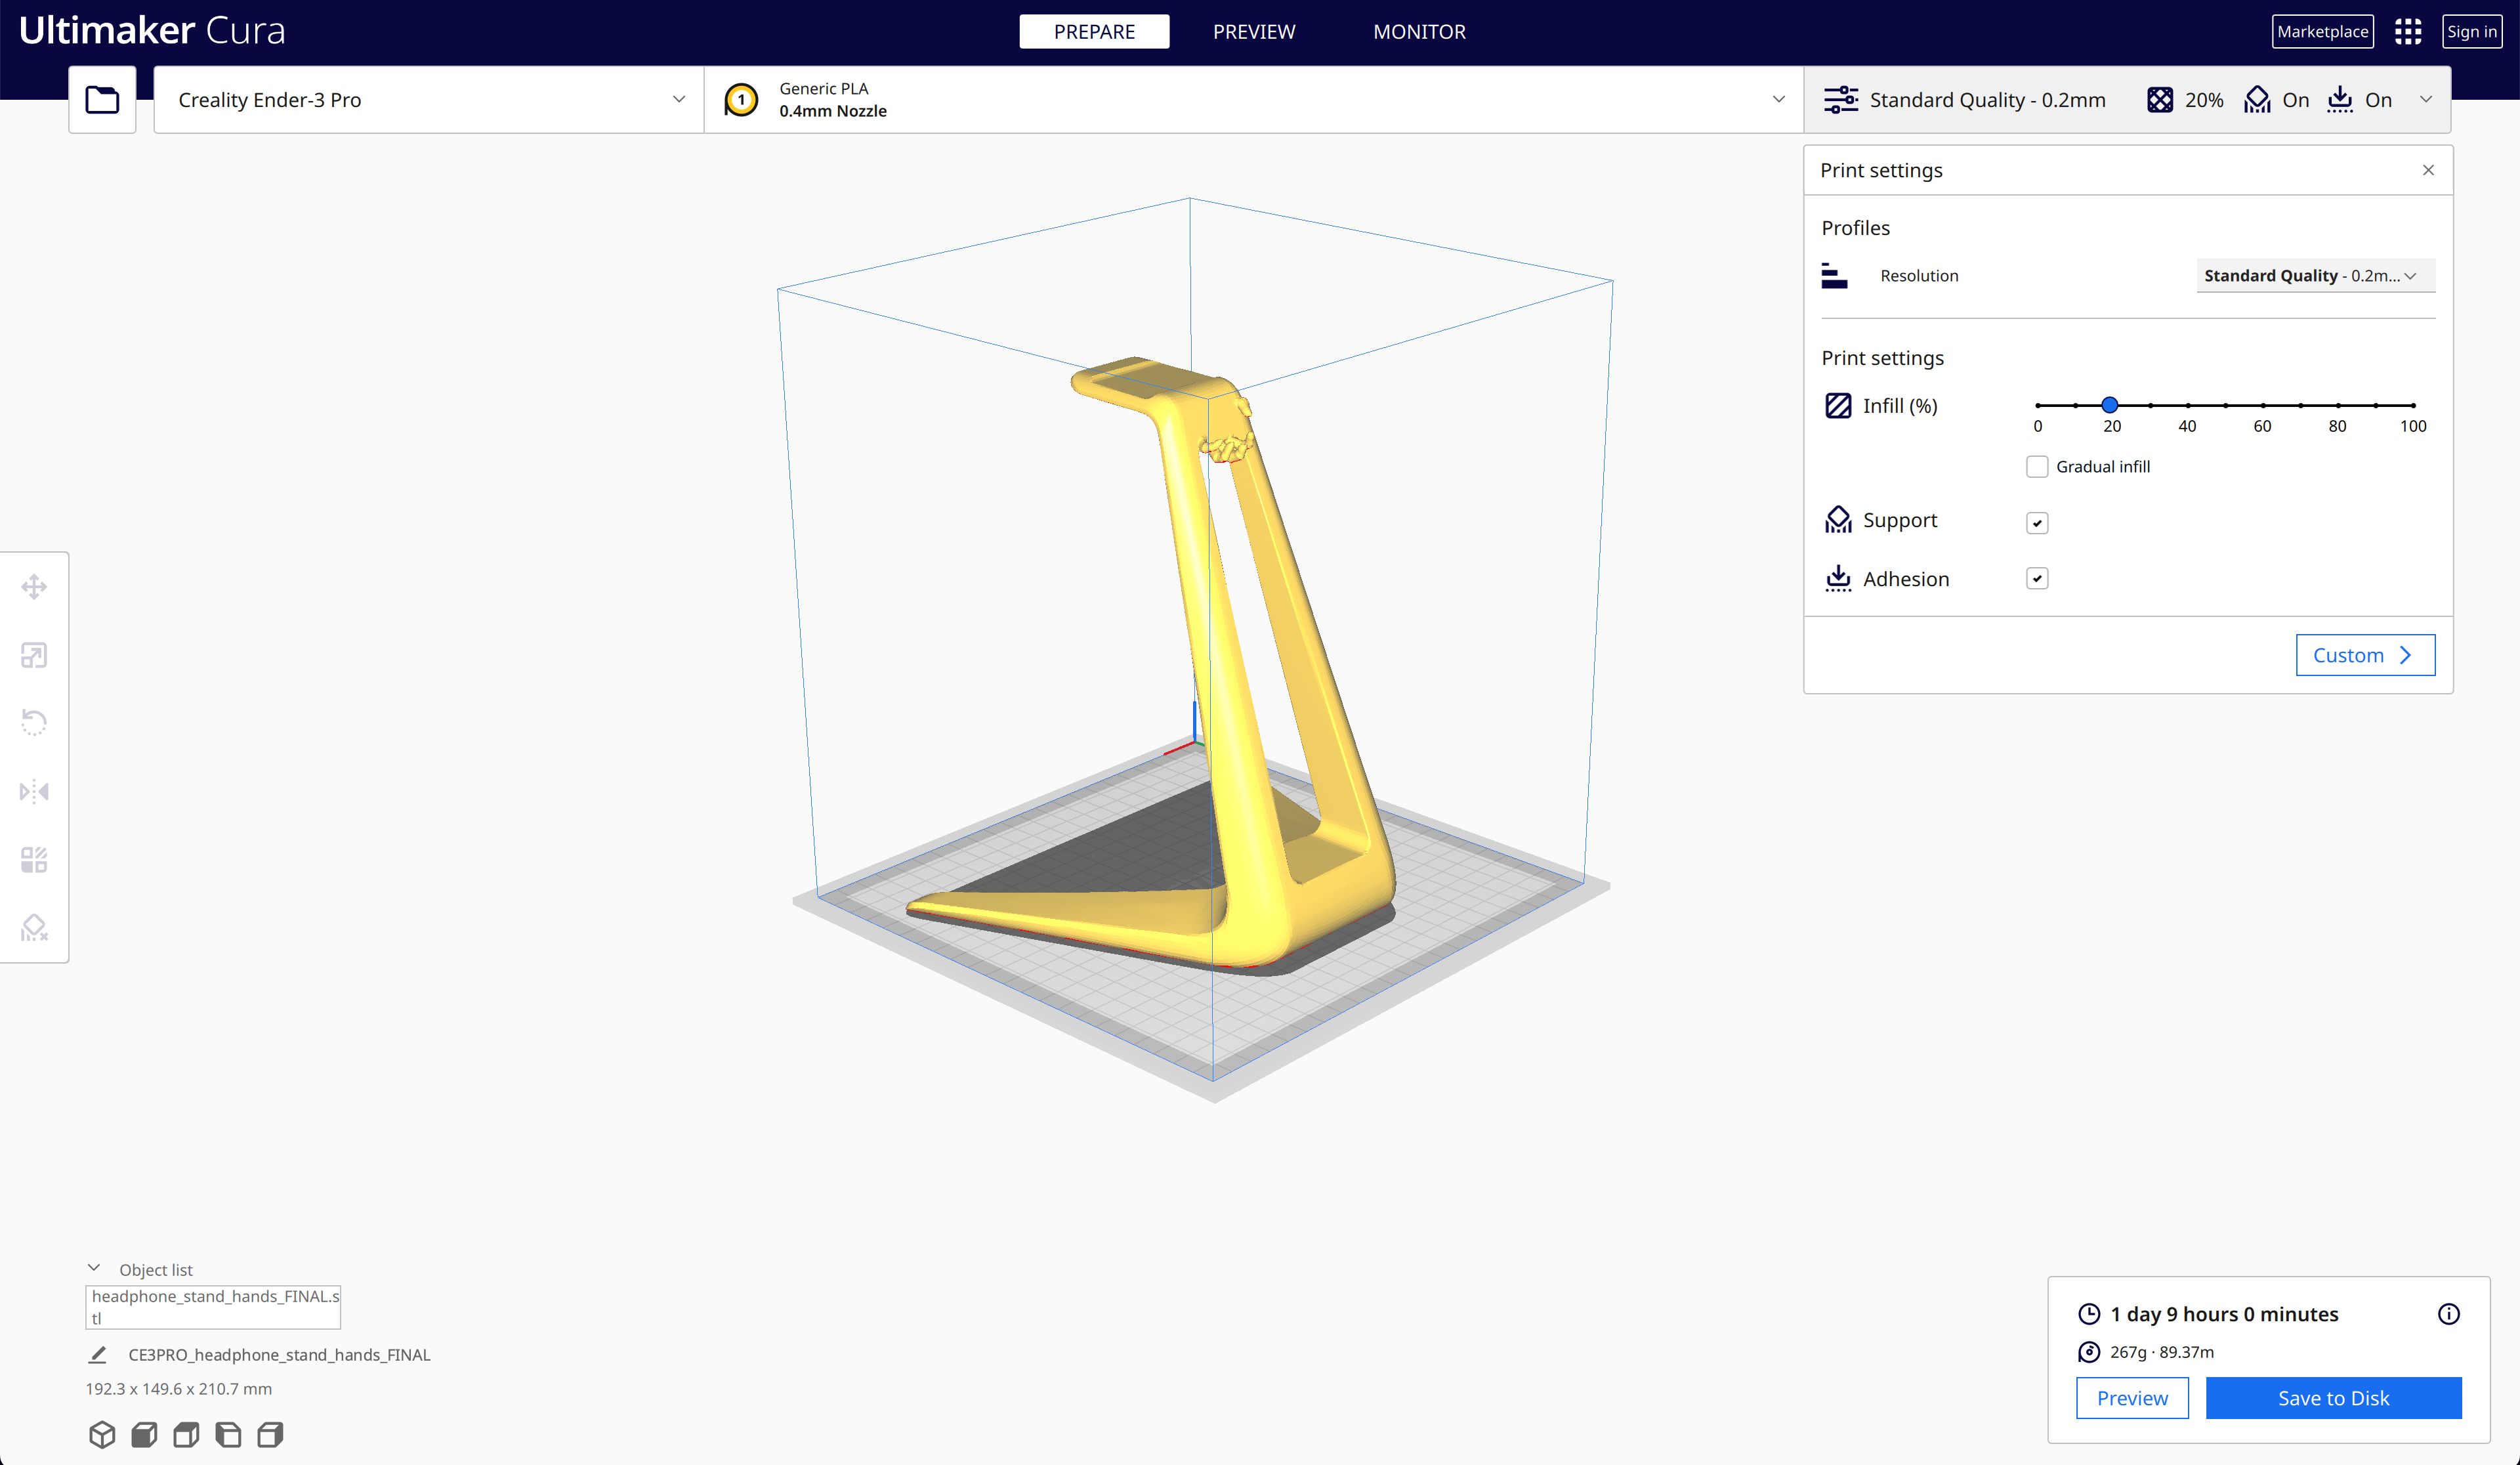
Merged headphone stand stl
Lamp preliminary stl
My creations: Part 2Lamp 3dm
Lamp top stl
Lamp bottom stl
External resources:Video conversion
Rhino documentation
Rhino wiki
Boolean modifier problems and how to solve them
Polycam iOS app
Thingiverse pig
Thingiverse snail
Thingiverse sheep
Thingiverse cow
Thingiverse goat
Google answer
How to Prepare Rhino Files for 3D Printing
Google answer
W3 for web tool
Reddit and other forum/help group posts: 1 , 2 , 3 , 4 , 5 , 6 , 7 , 8 , 9 , 10 , 11 , 12 13
Thanks to the various posts in the Discord channel for the help! Especially for posts from Junchao about Rhino commands. Thanks to Mina too for brainstorming what to do with the top of the head!